0.1.3
Fixed
- Held keys: Snap stays on after Alt has been pressed and a held letter repeats in a text box

Disguise Designer plugin
Pixel perfect gradients for Disguise Designer. A gradient is drawn to fit a mapping's canvas, written into the project as an image, and referenced by a video layer the plugin can add.
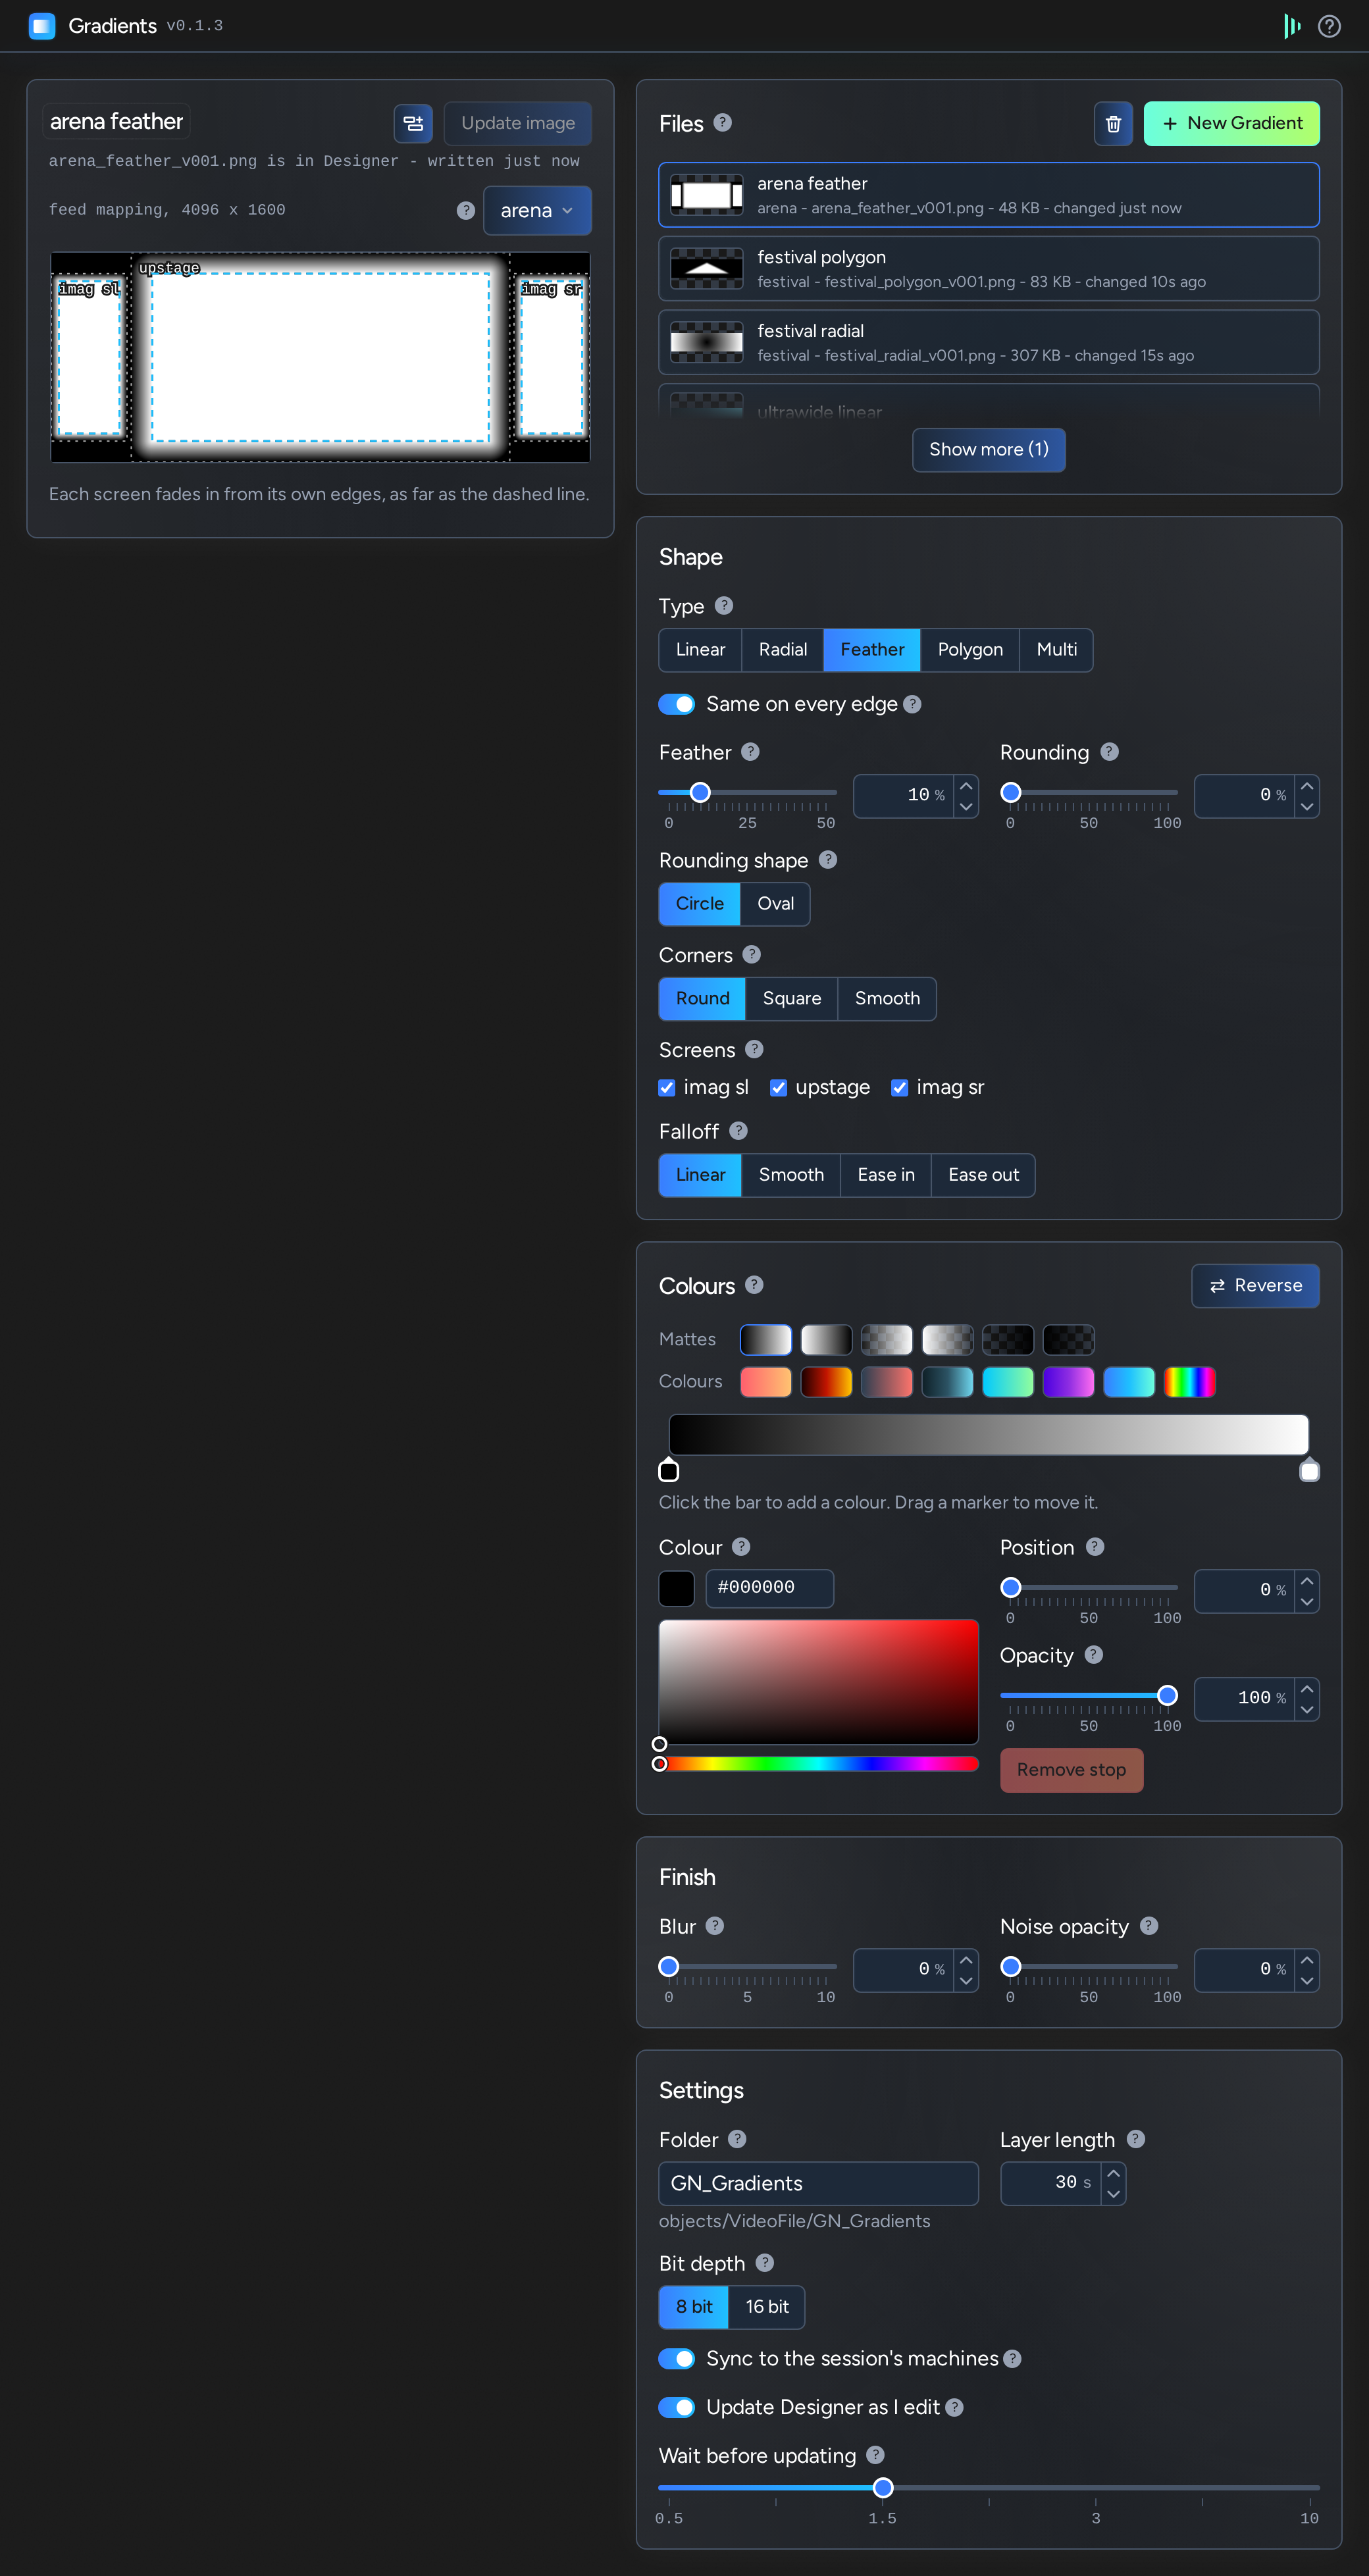
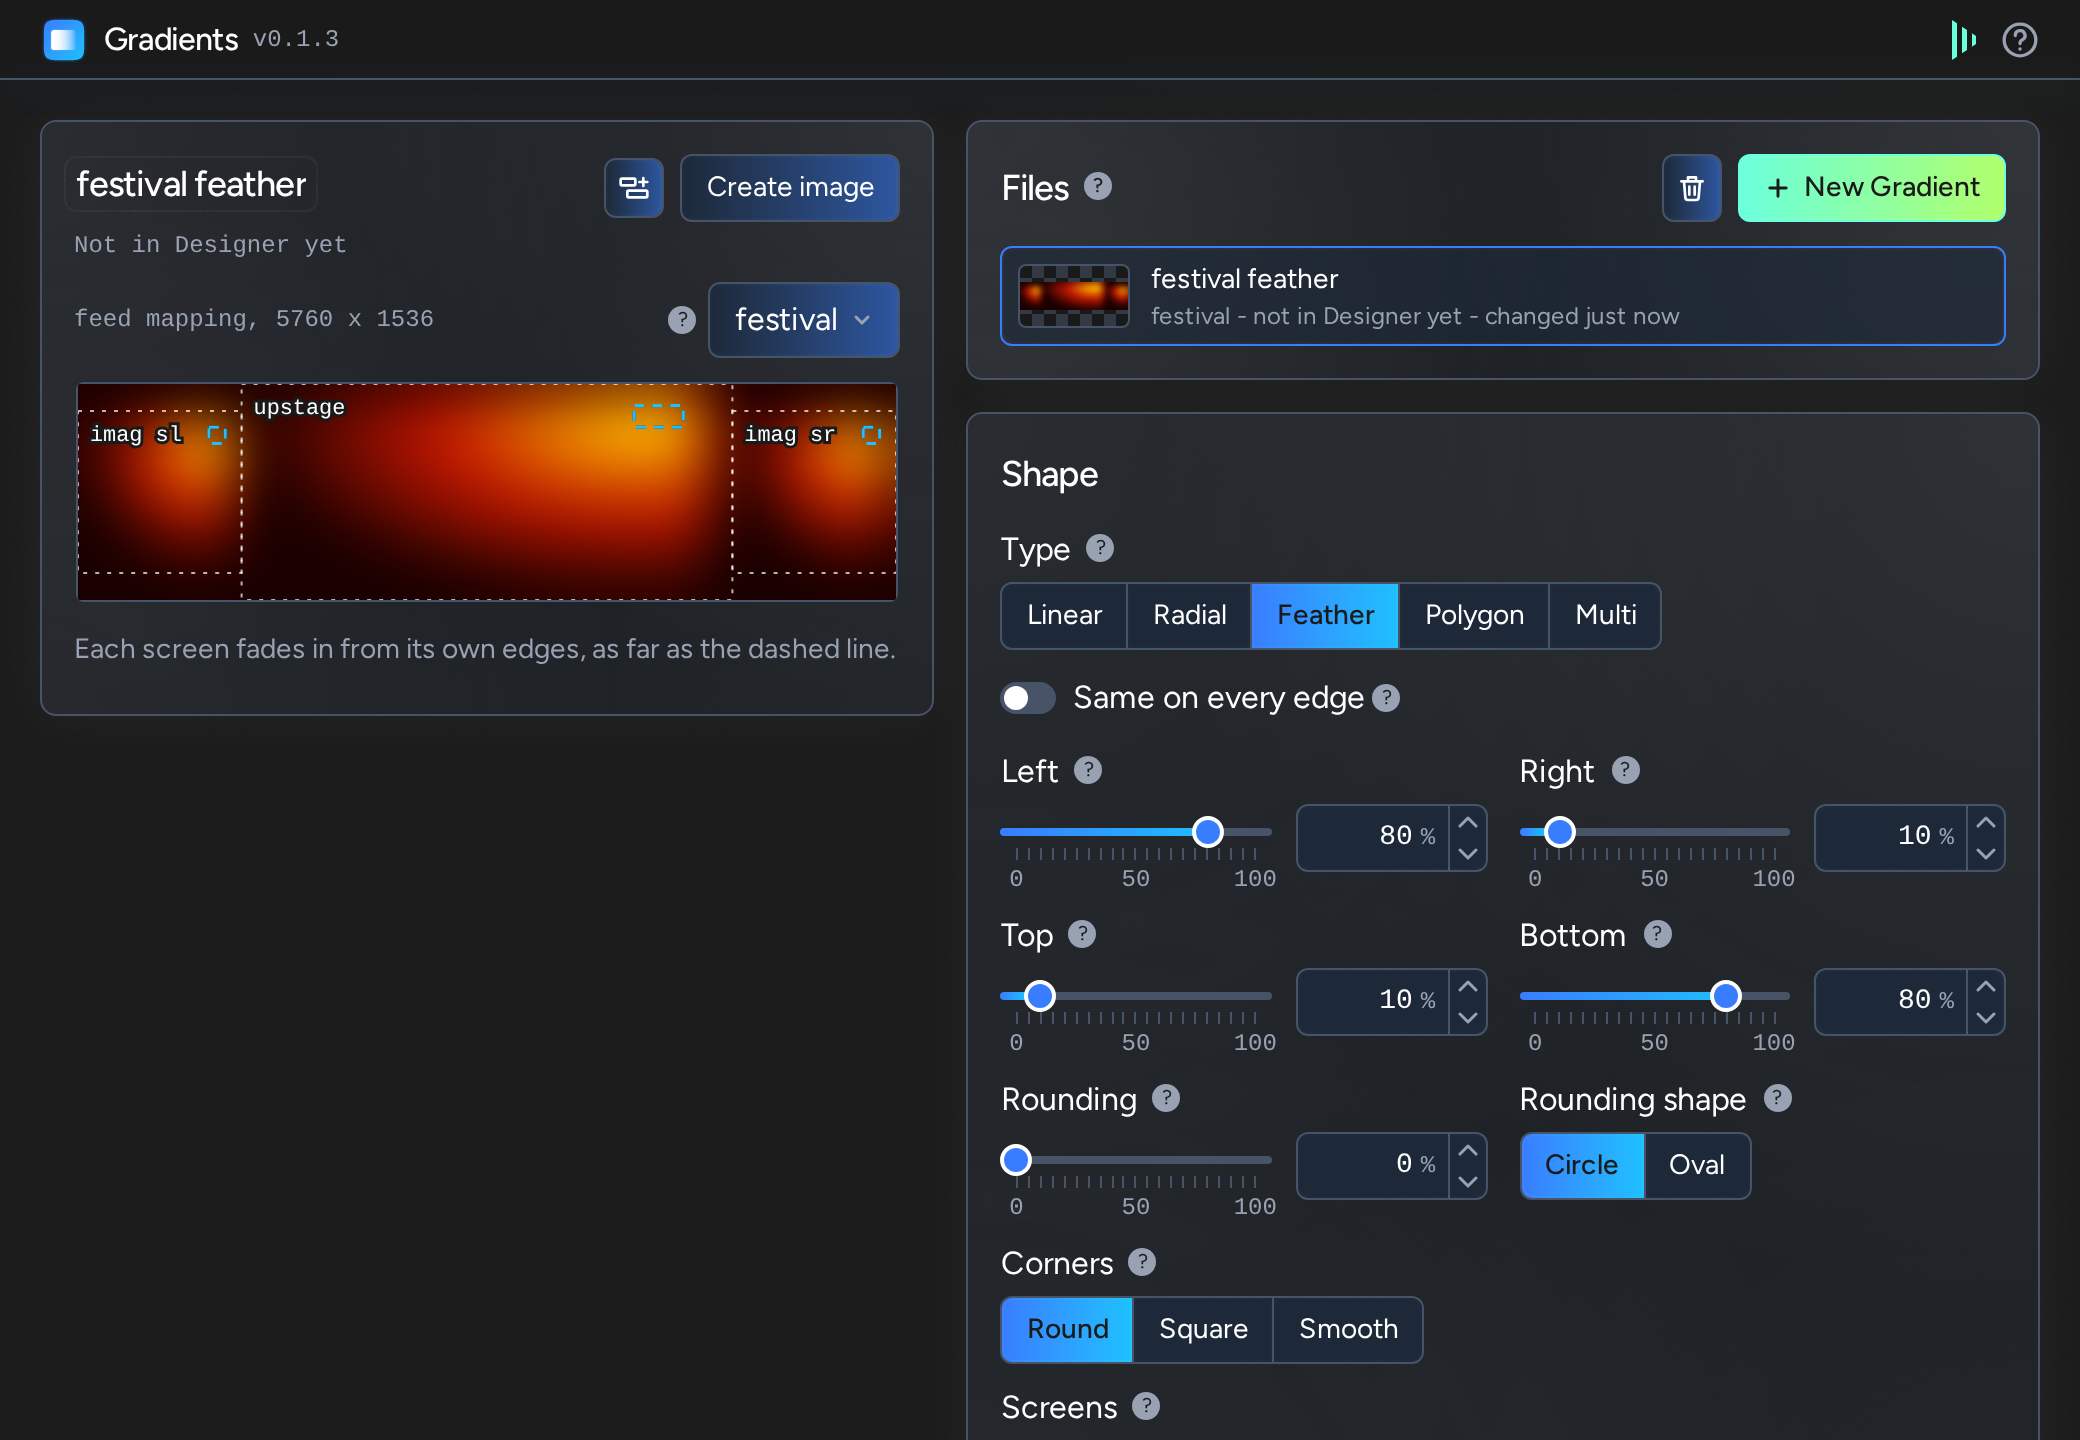
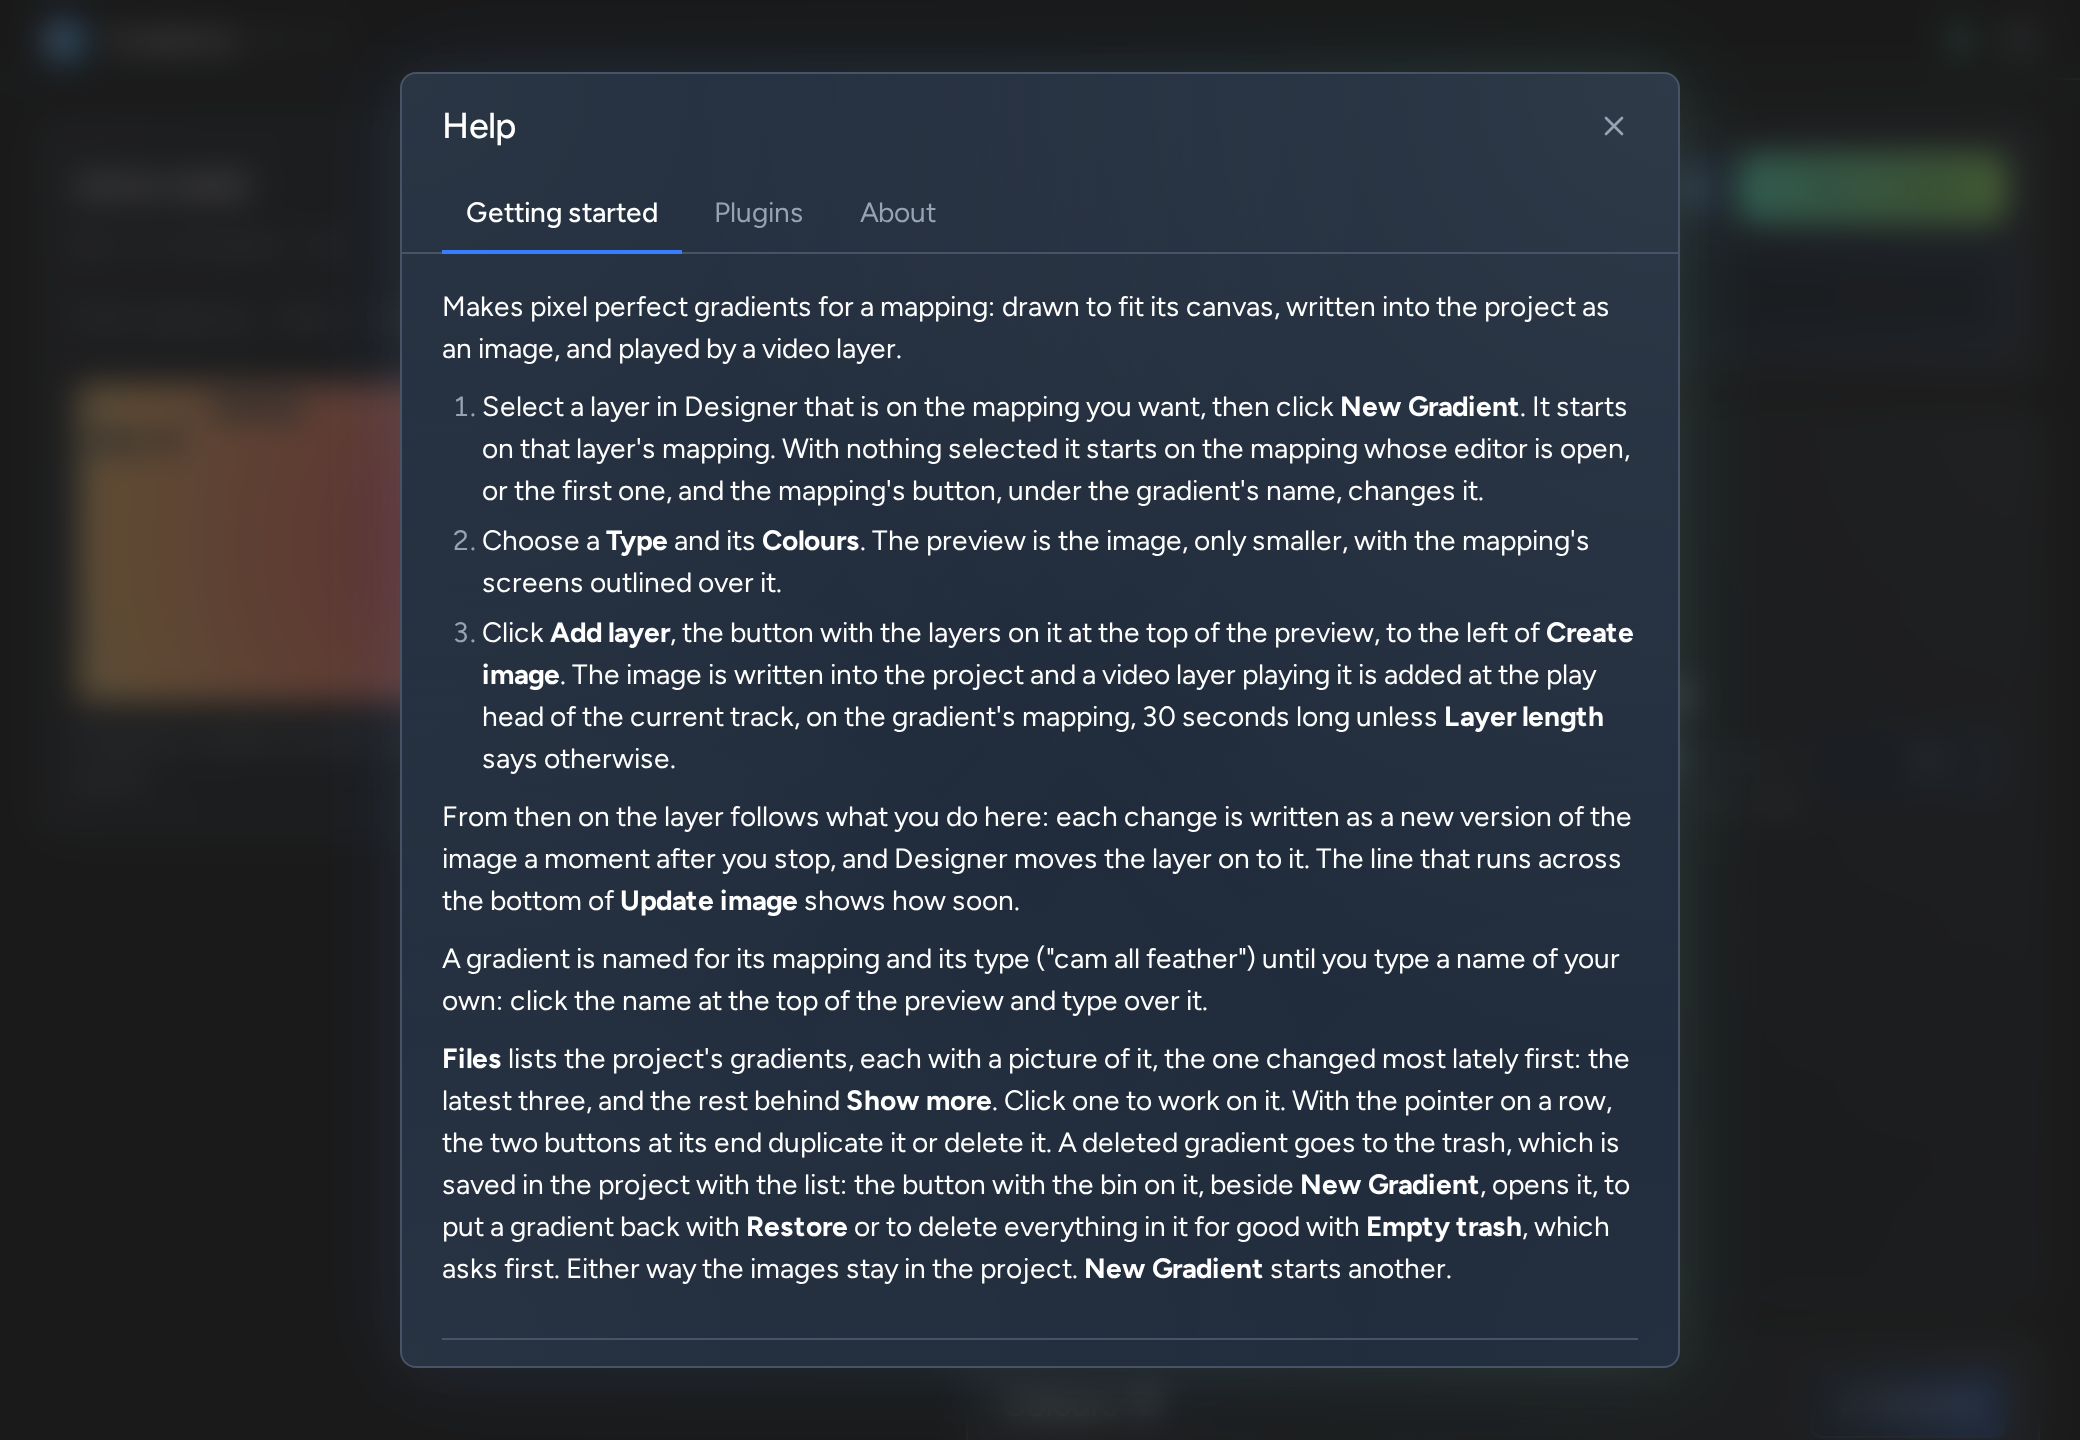
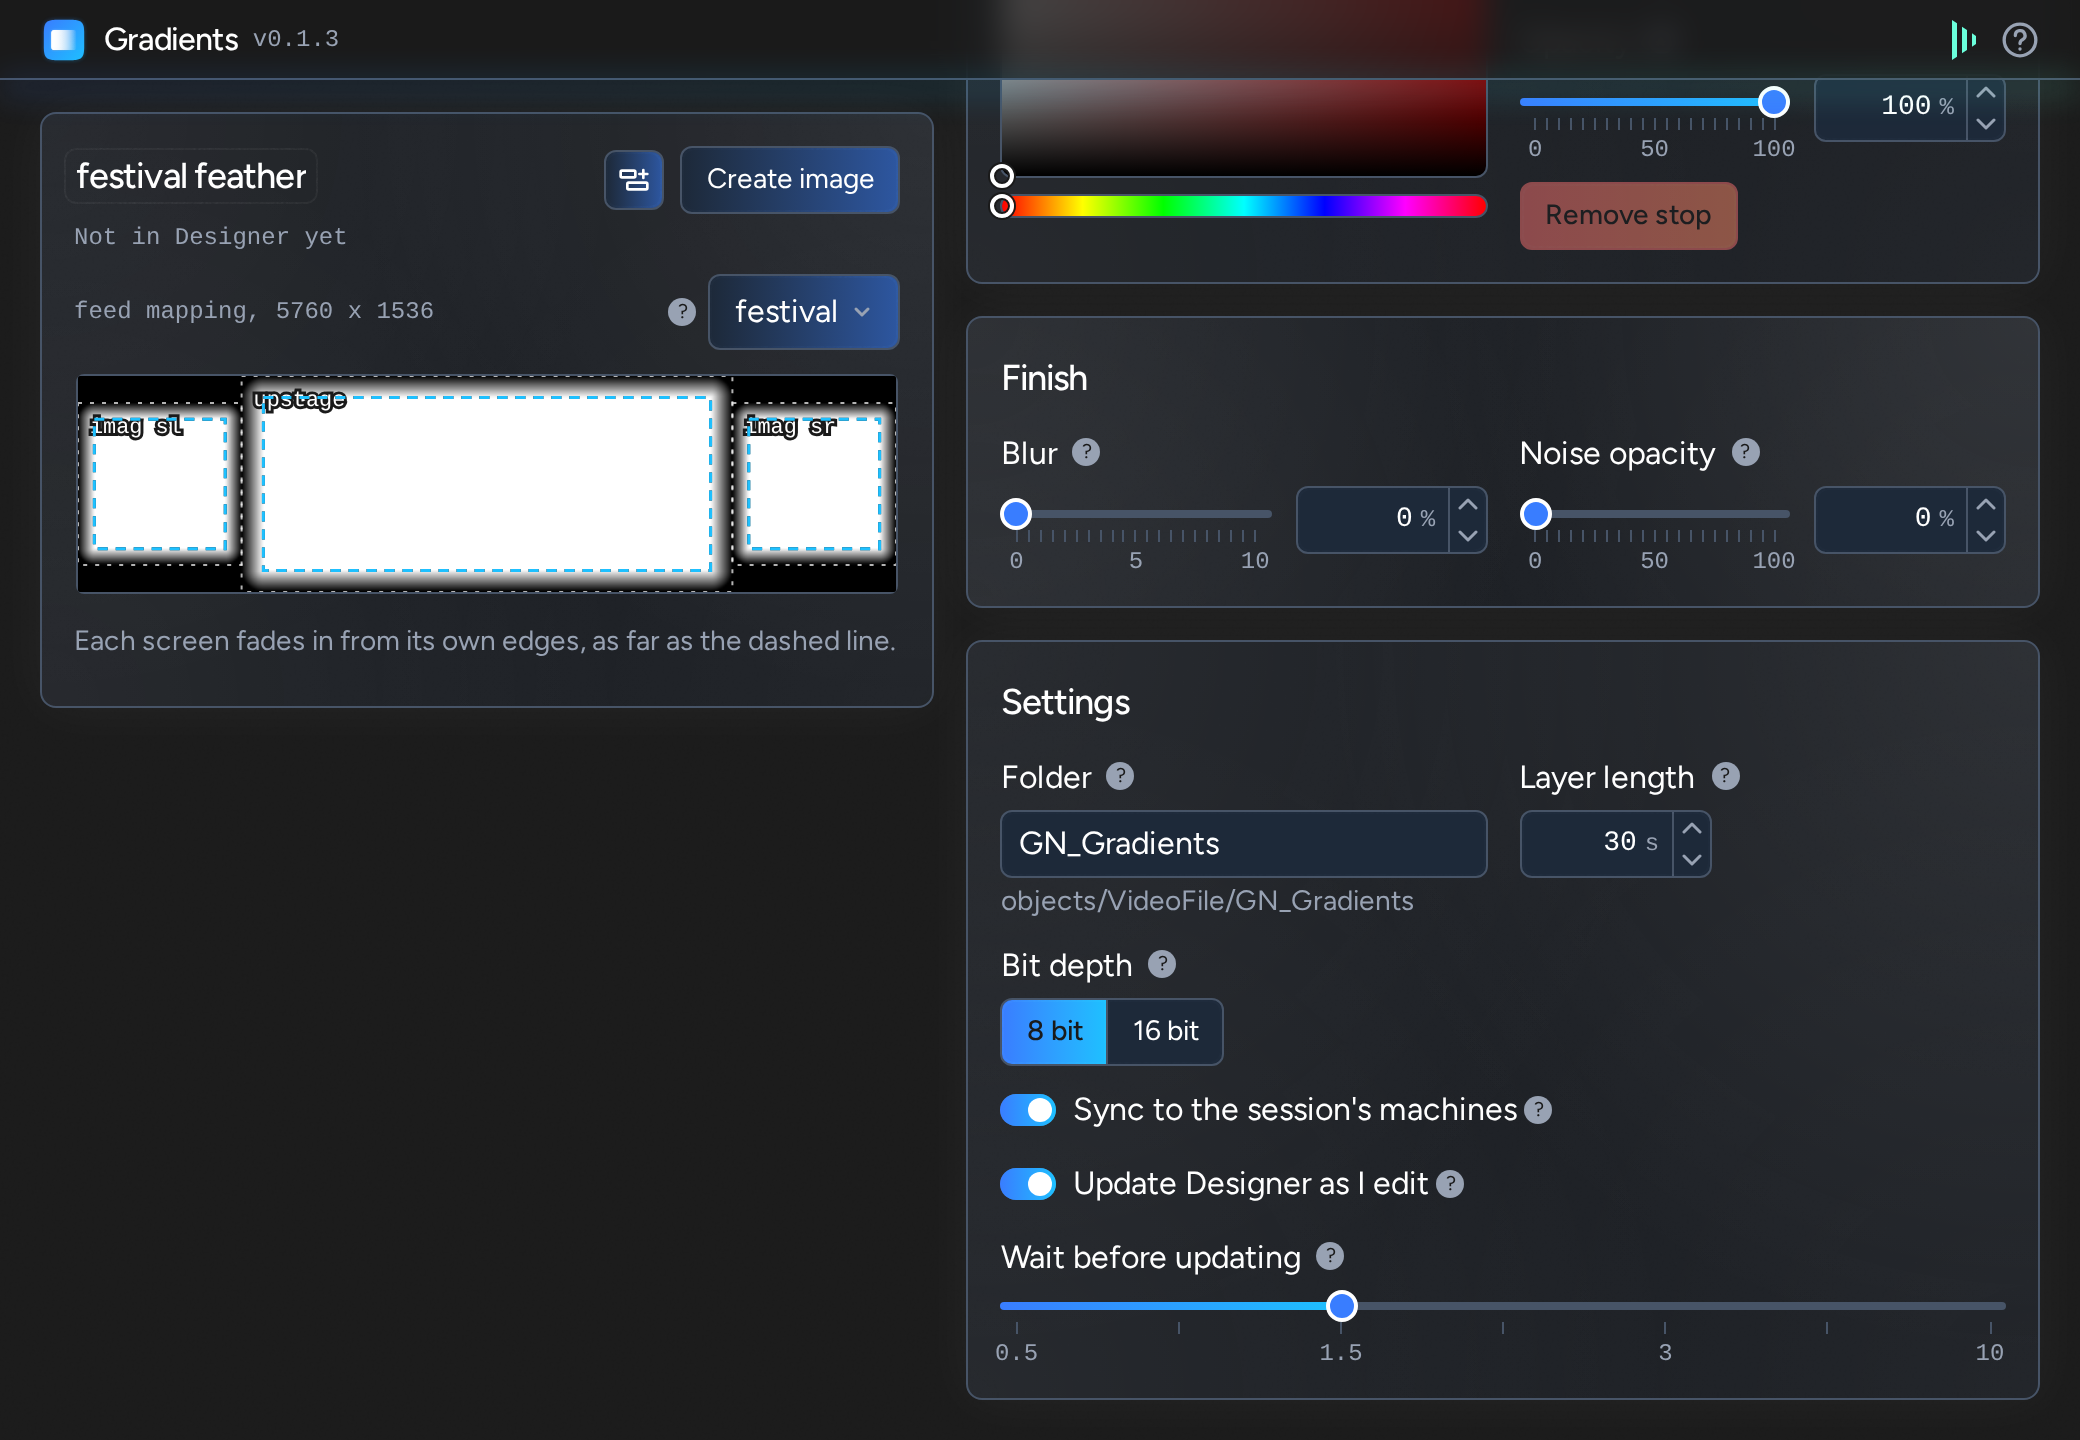
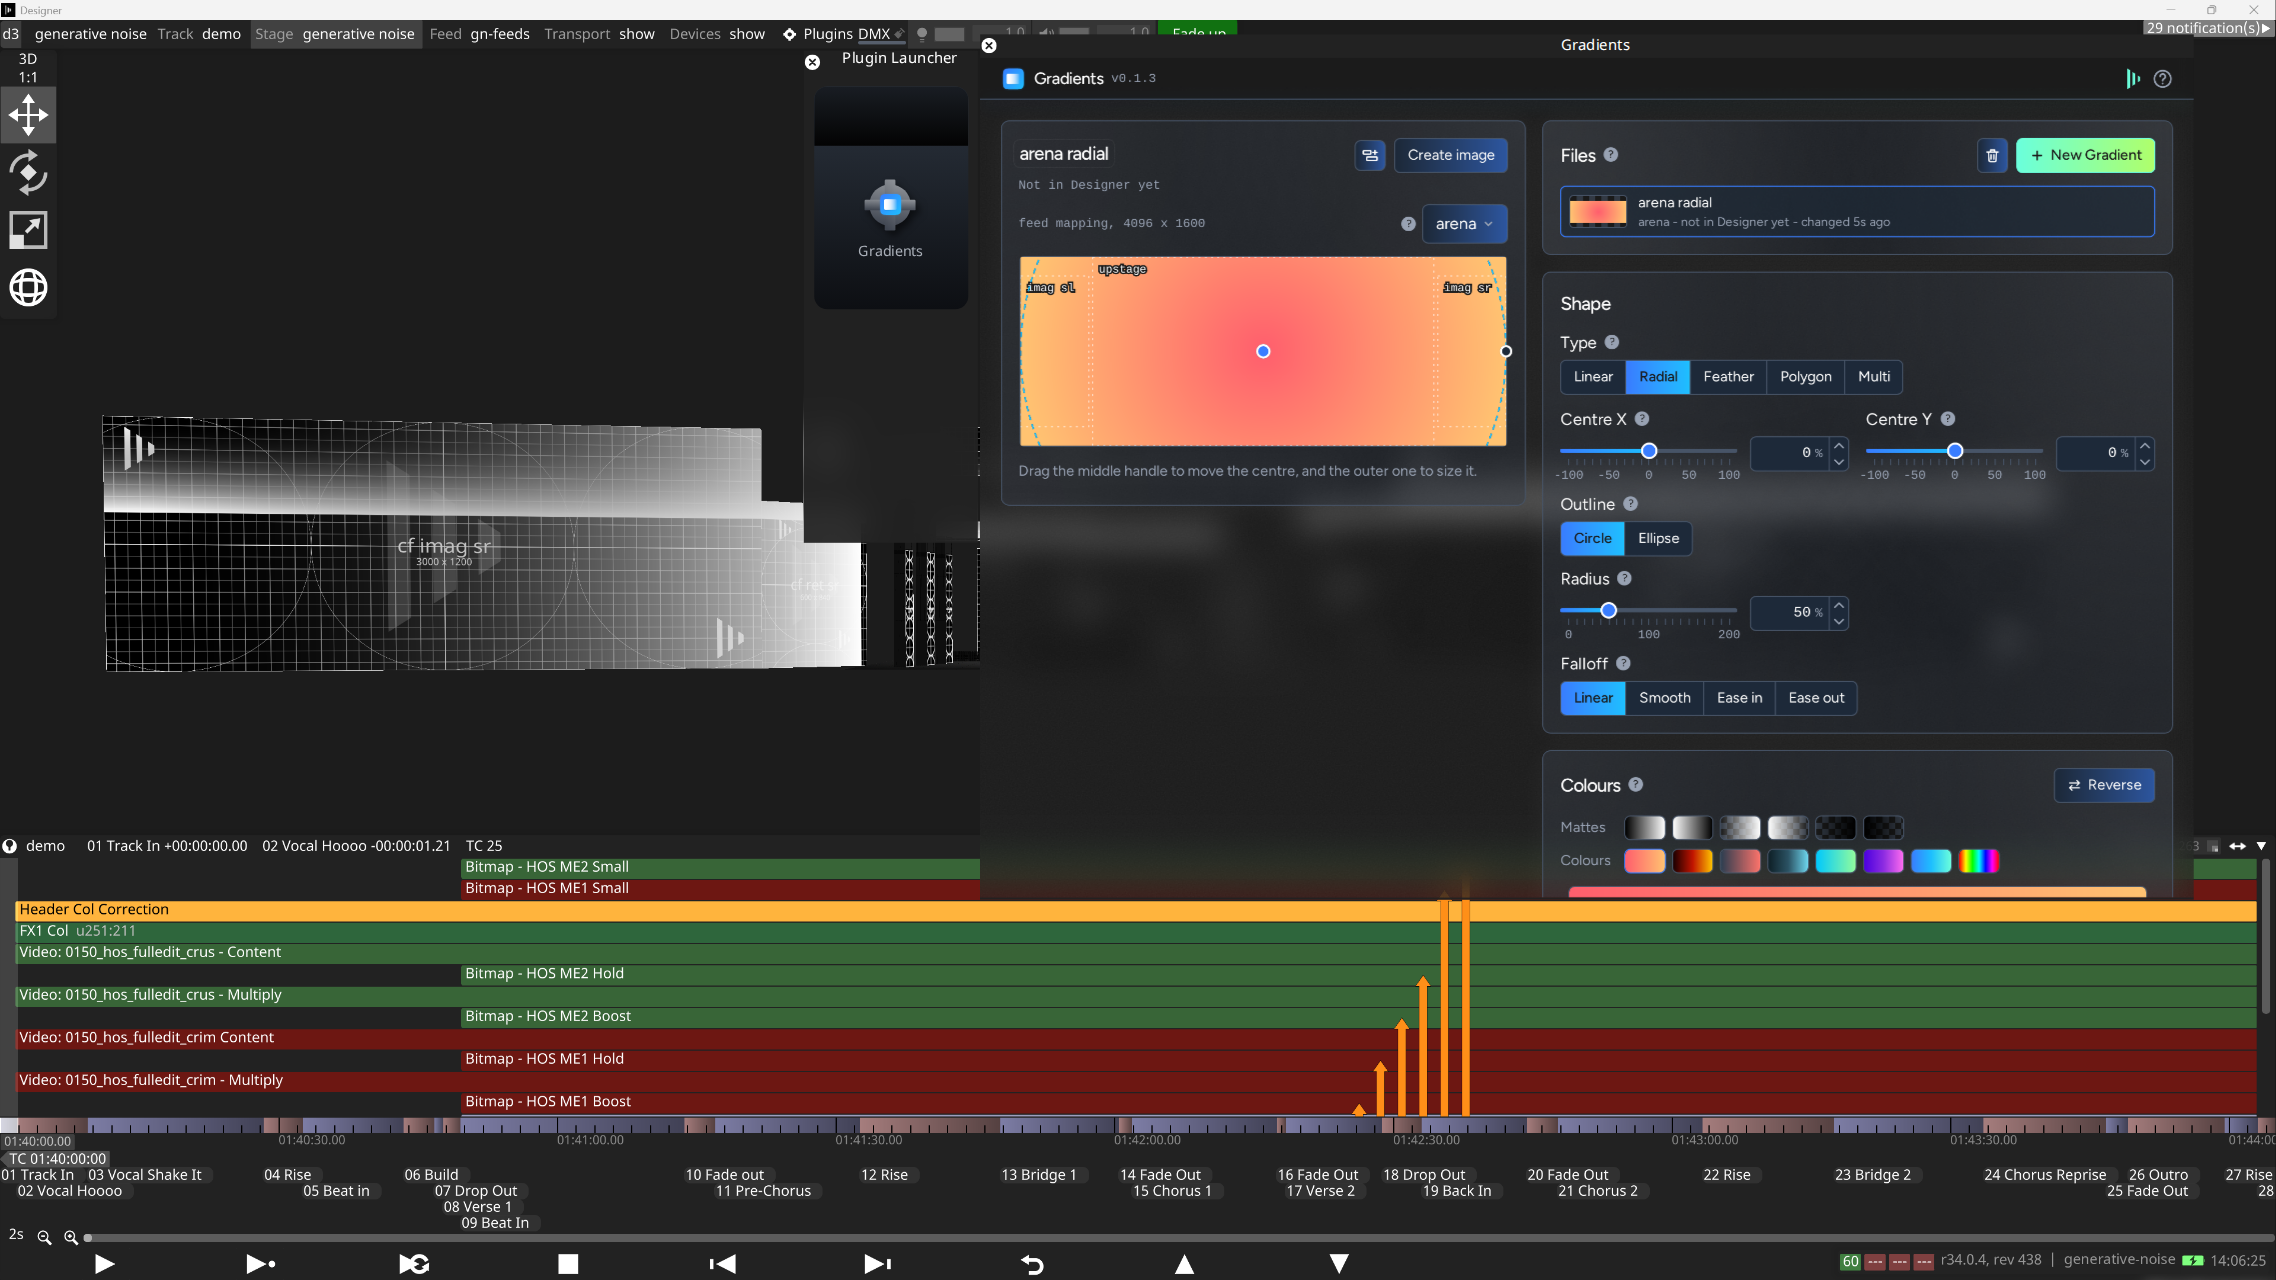
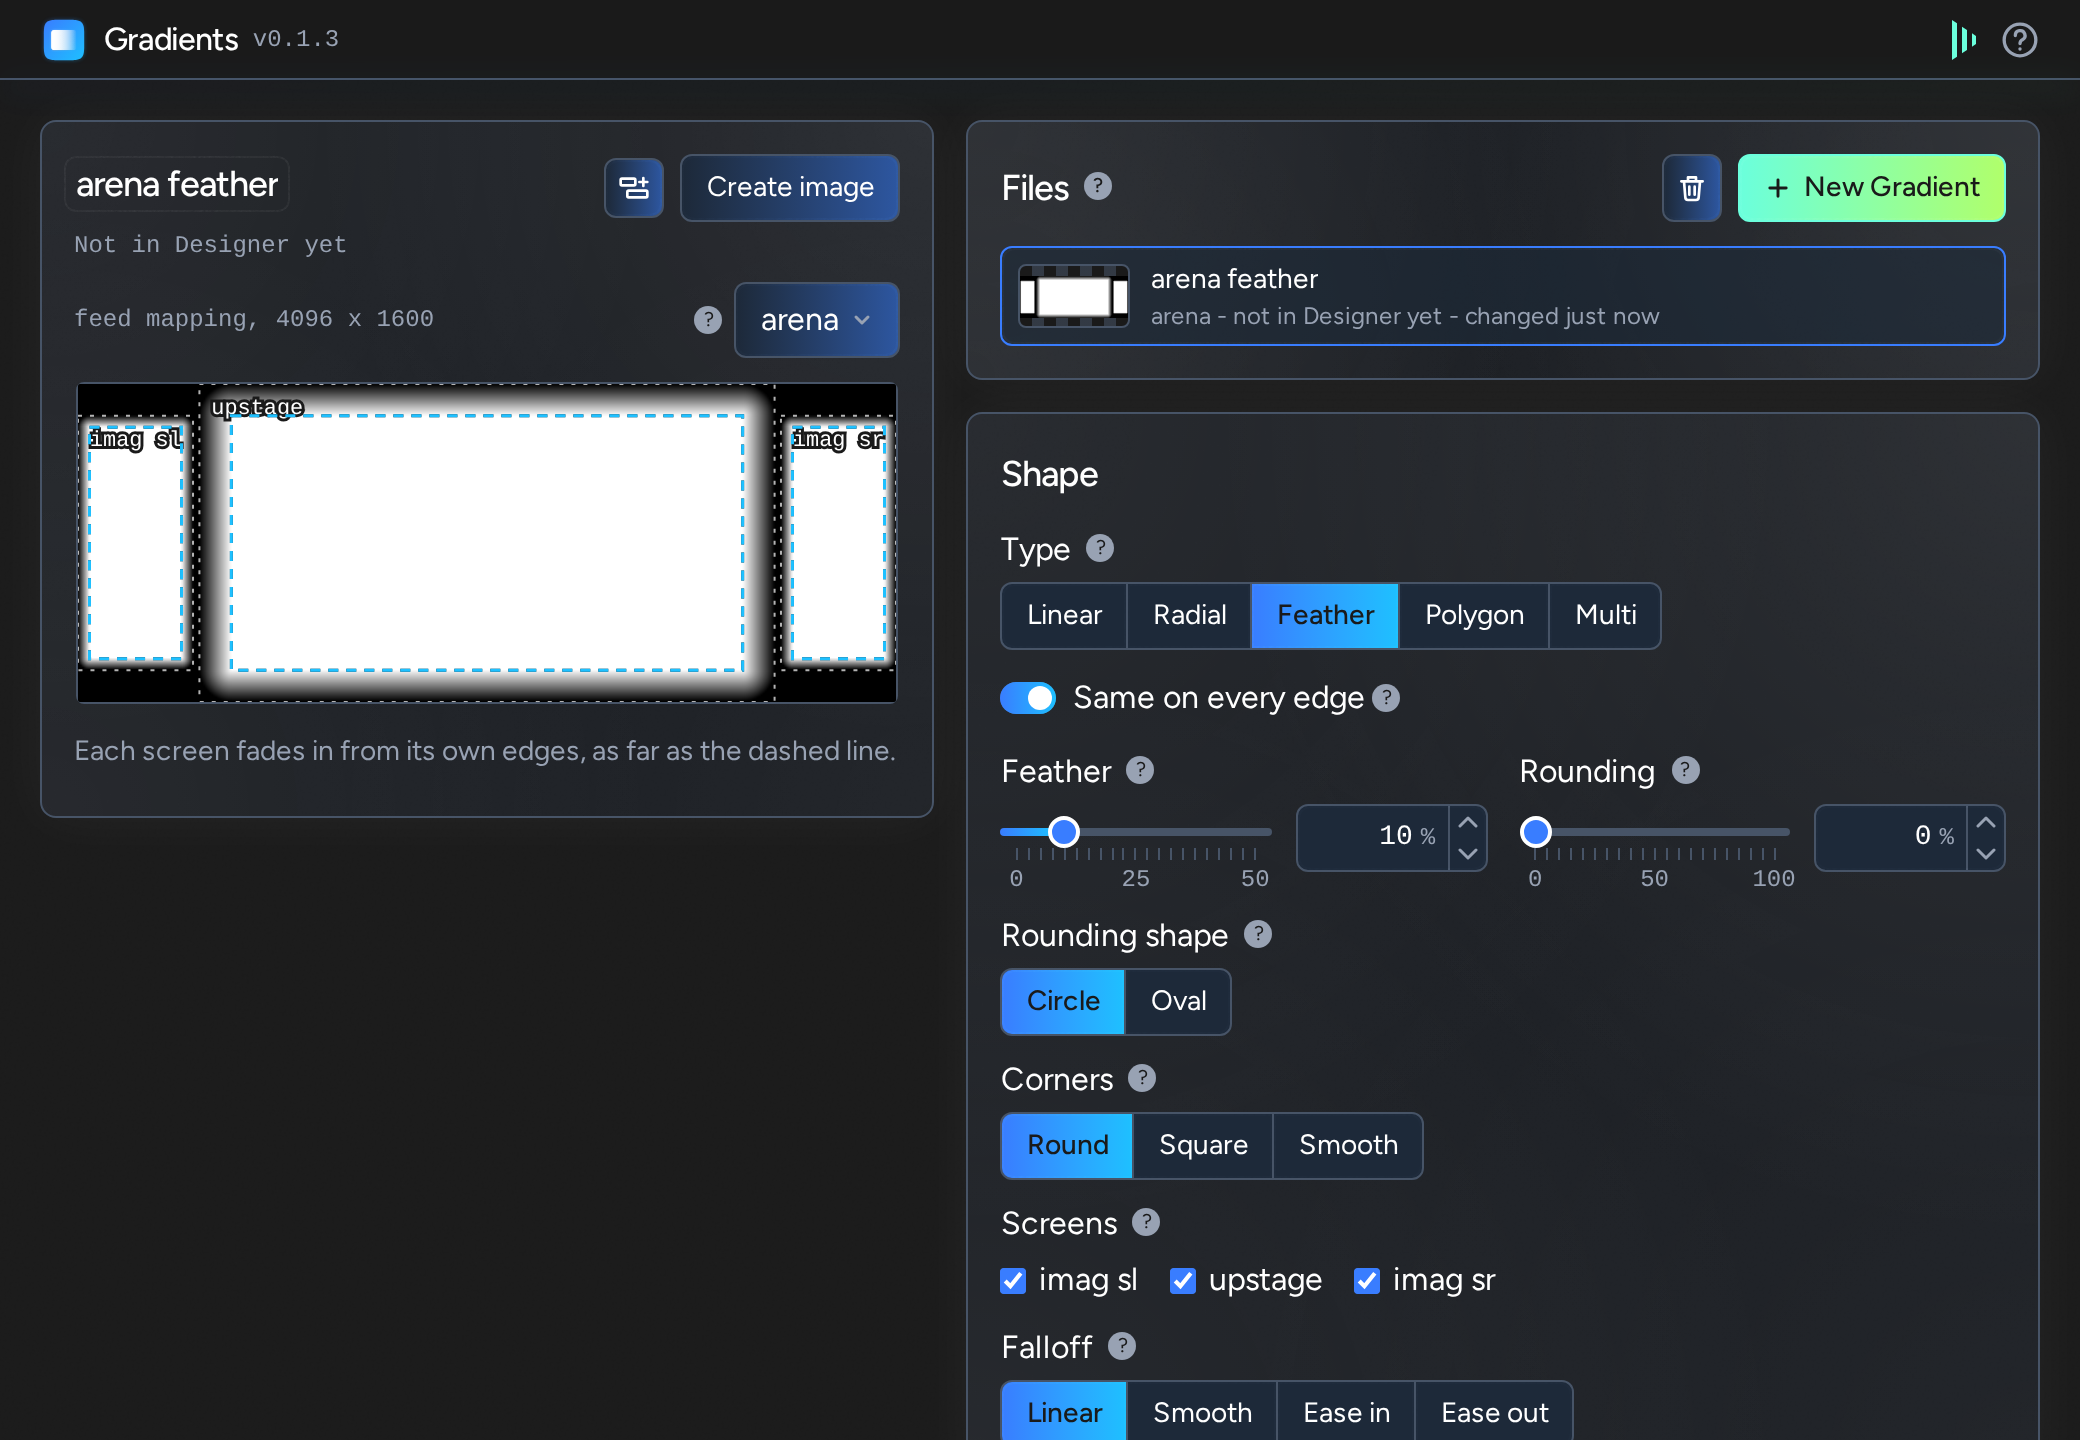
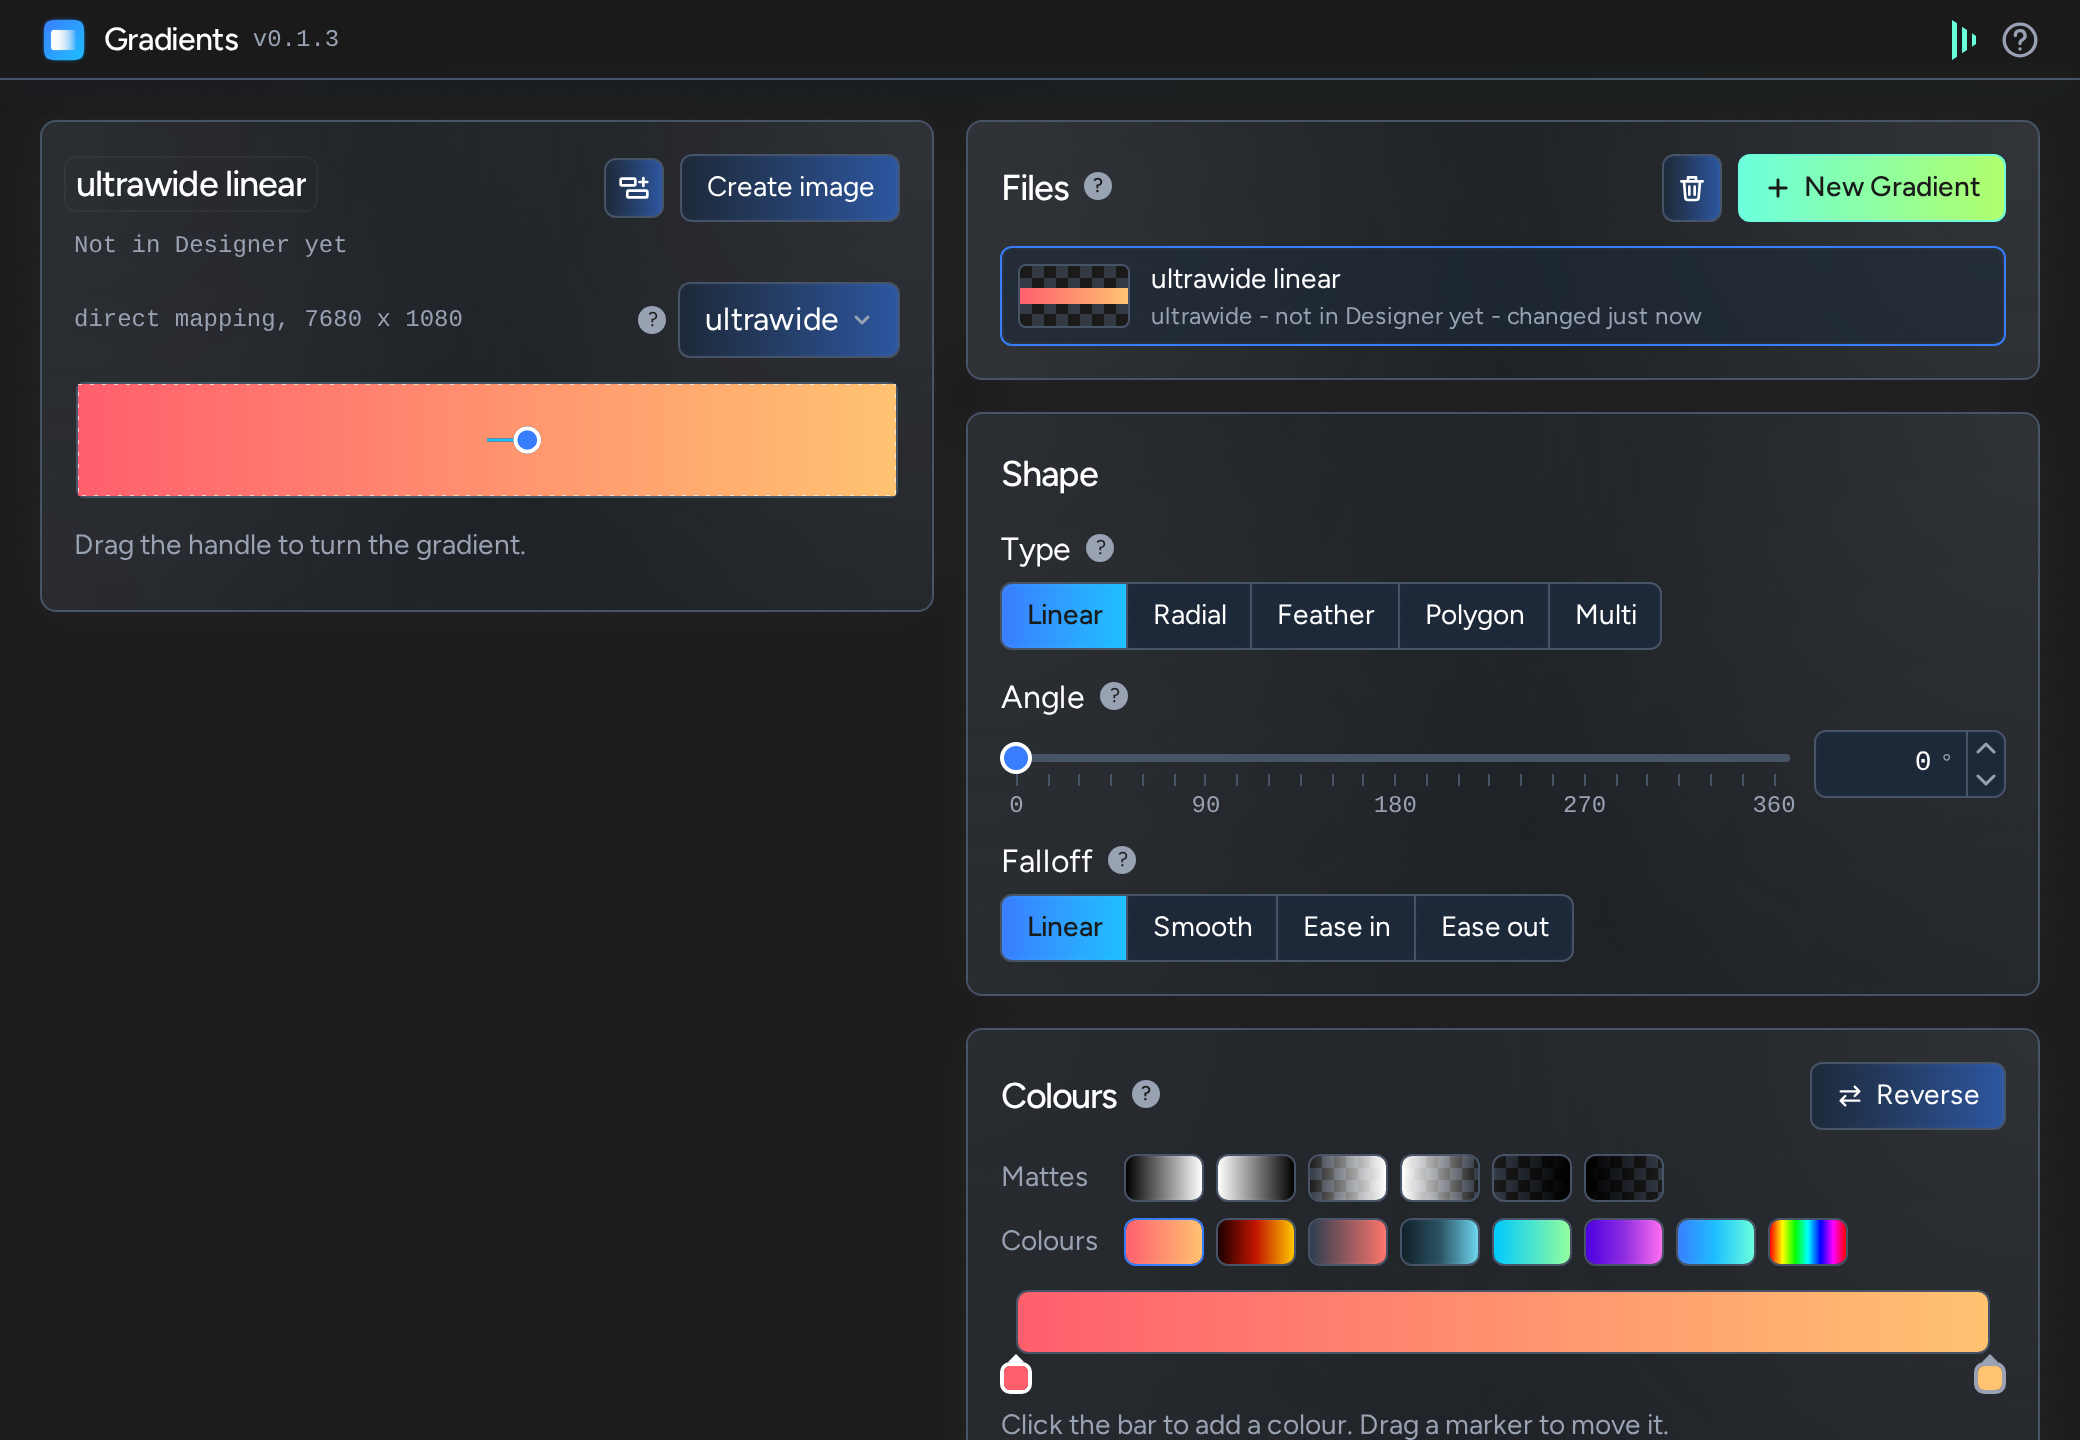
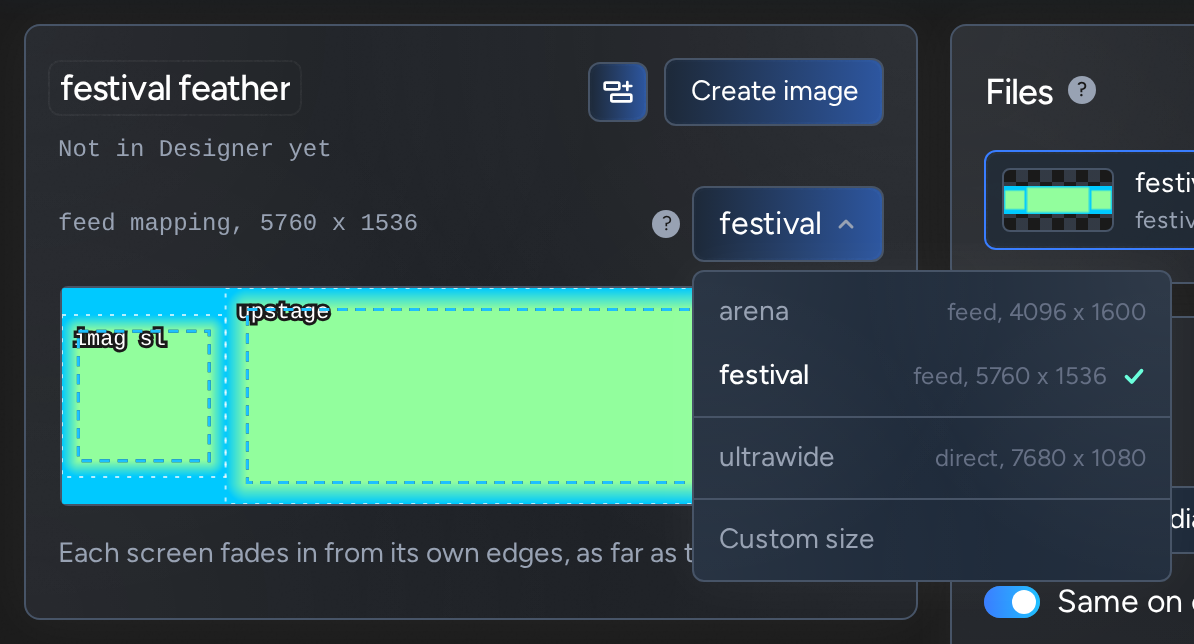
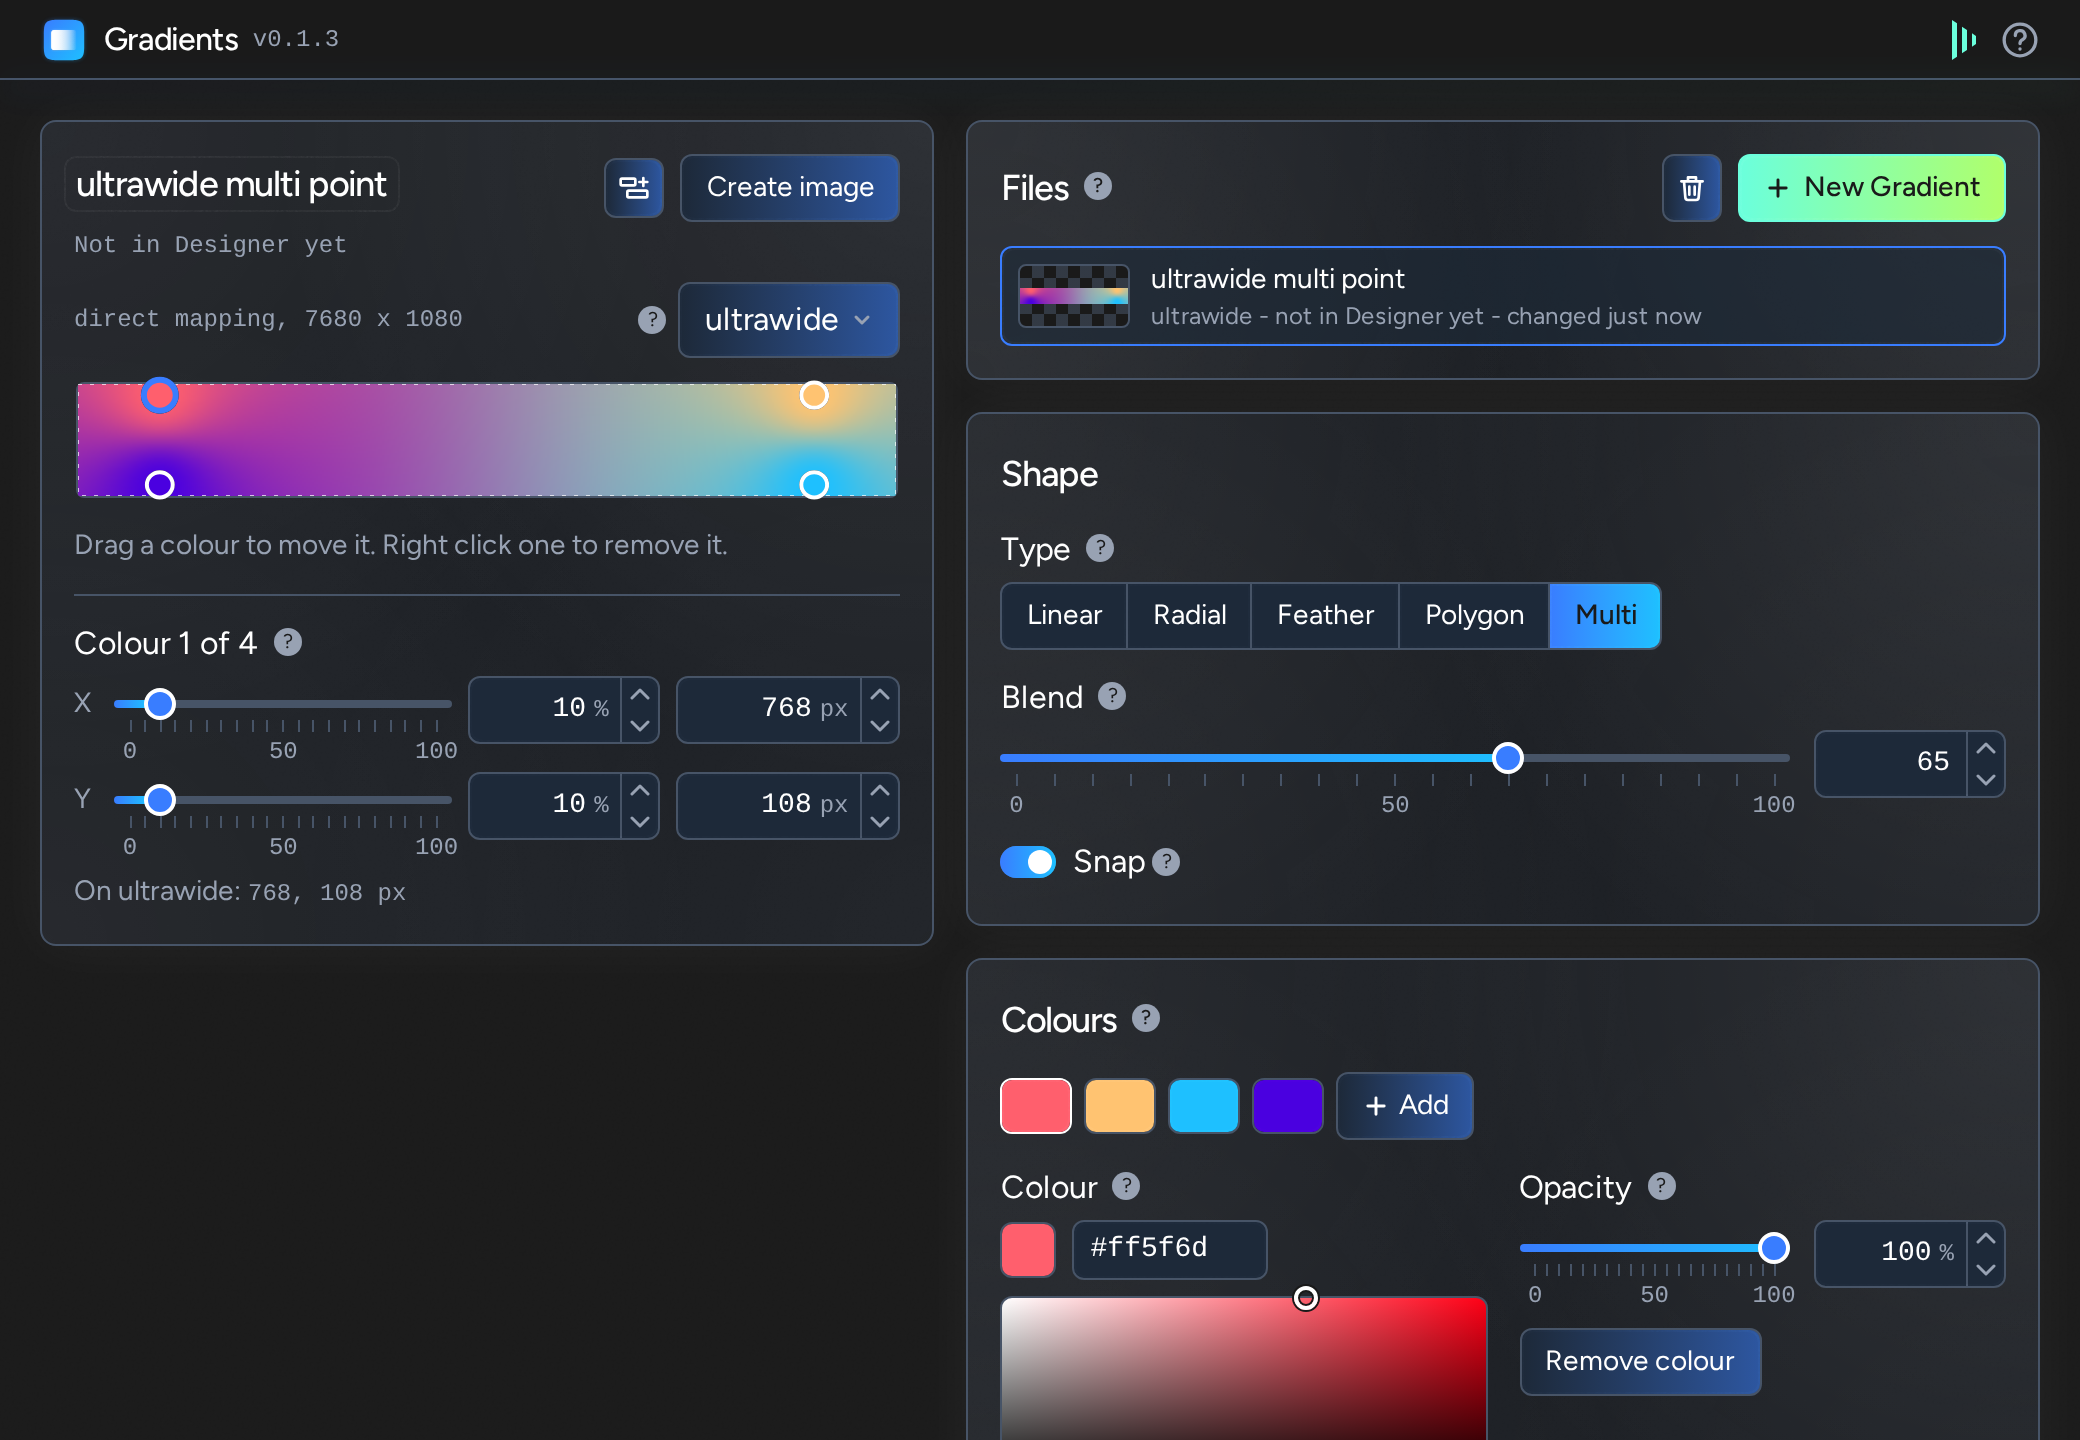
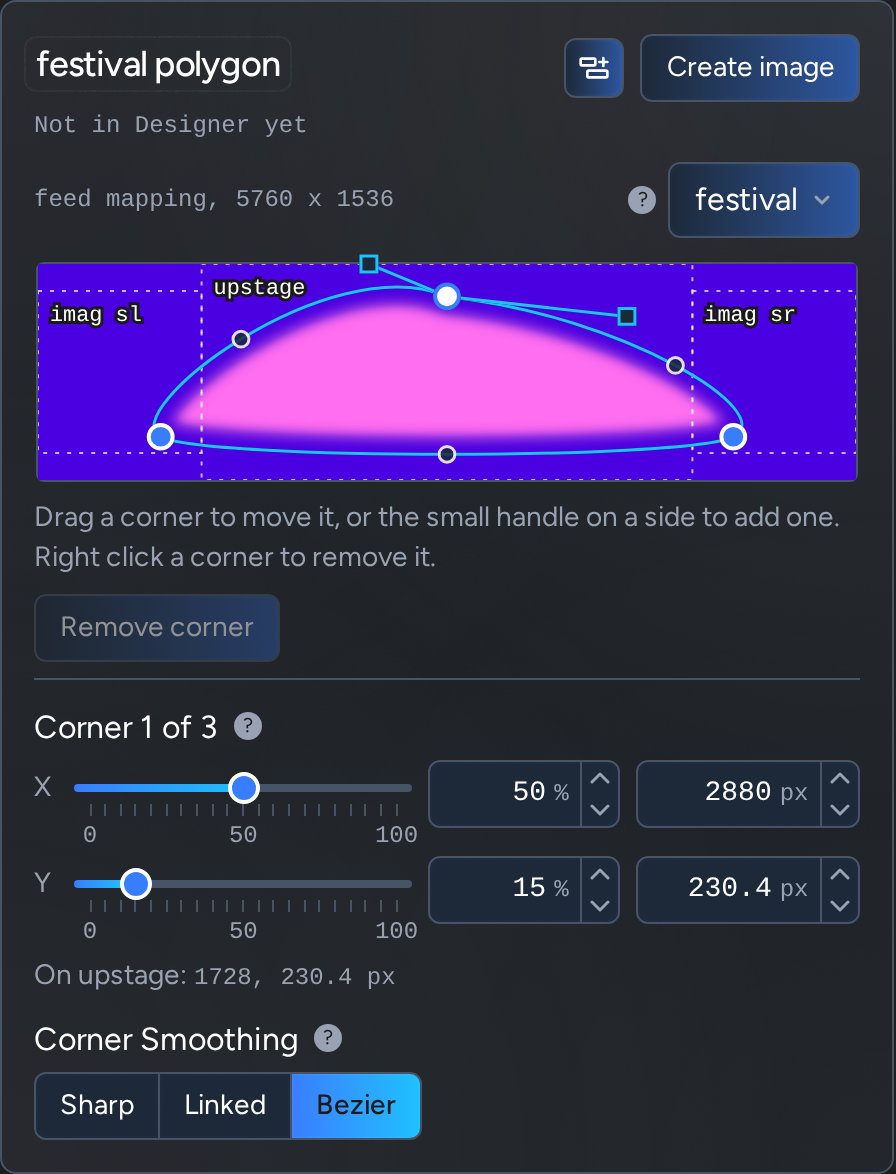
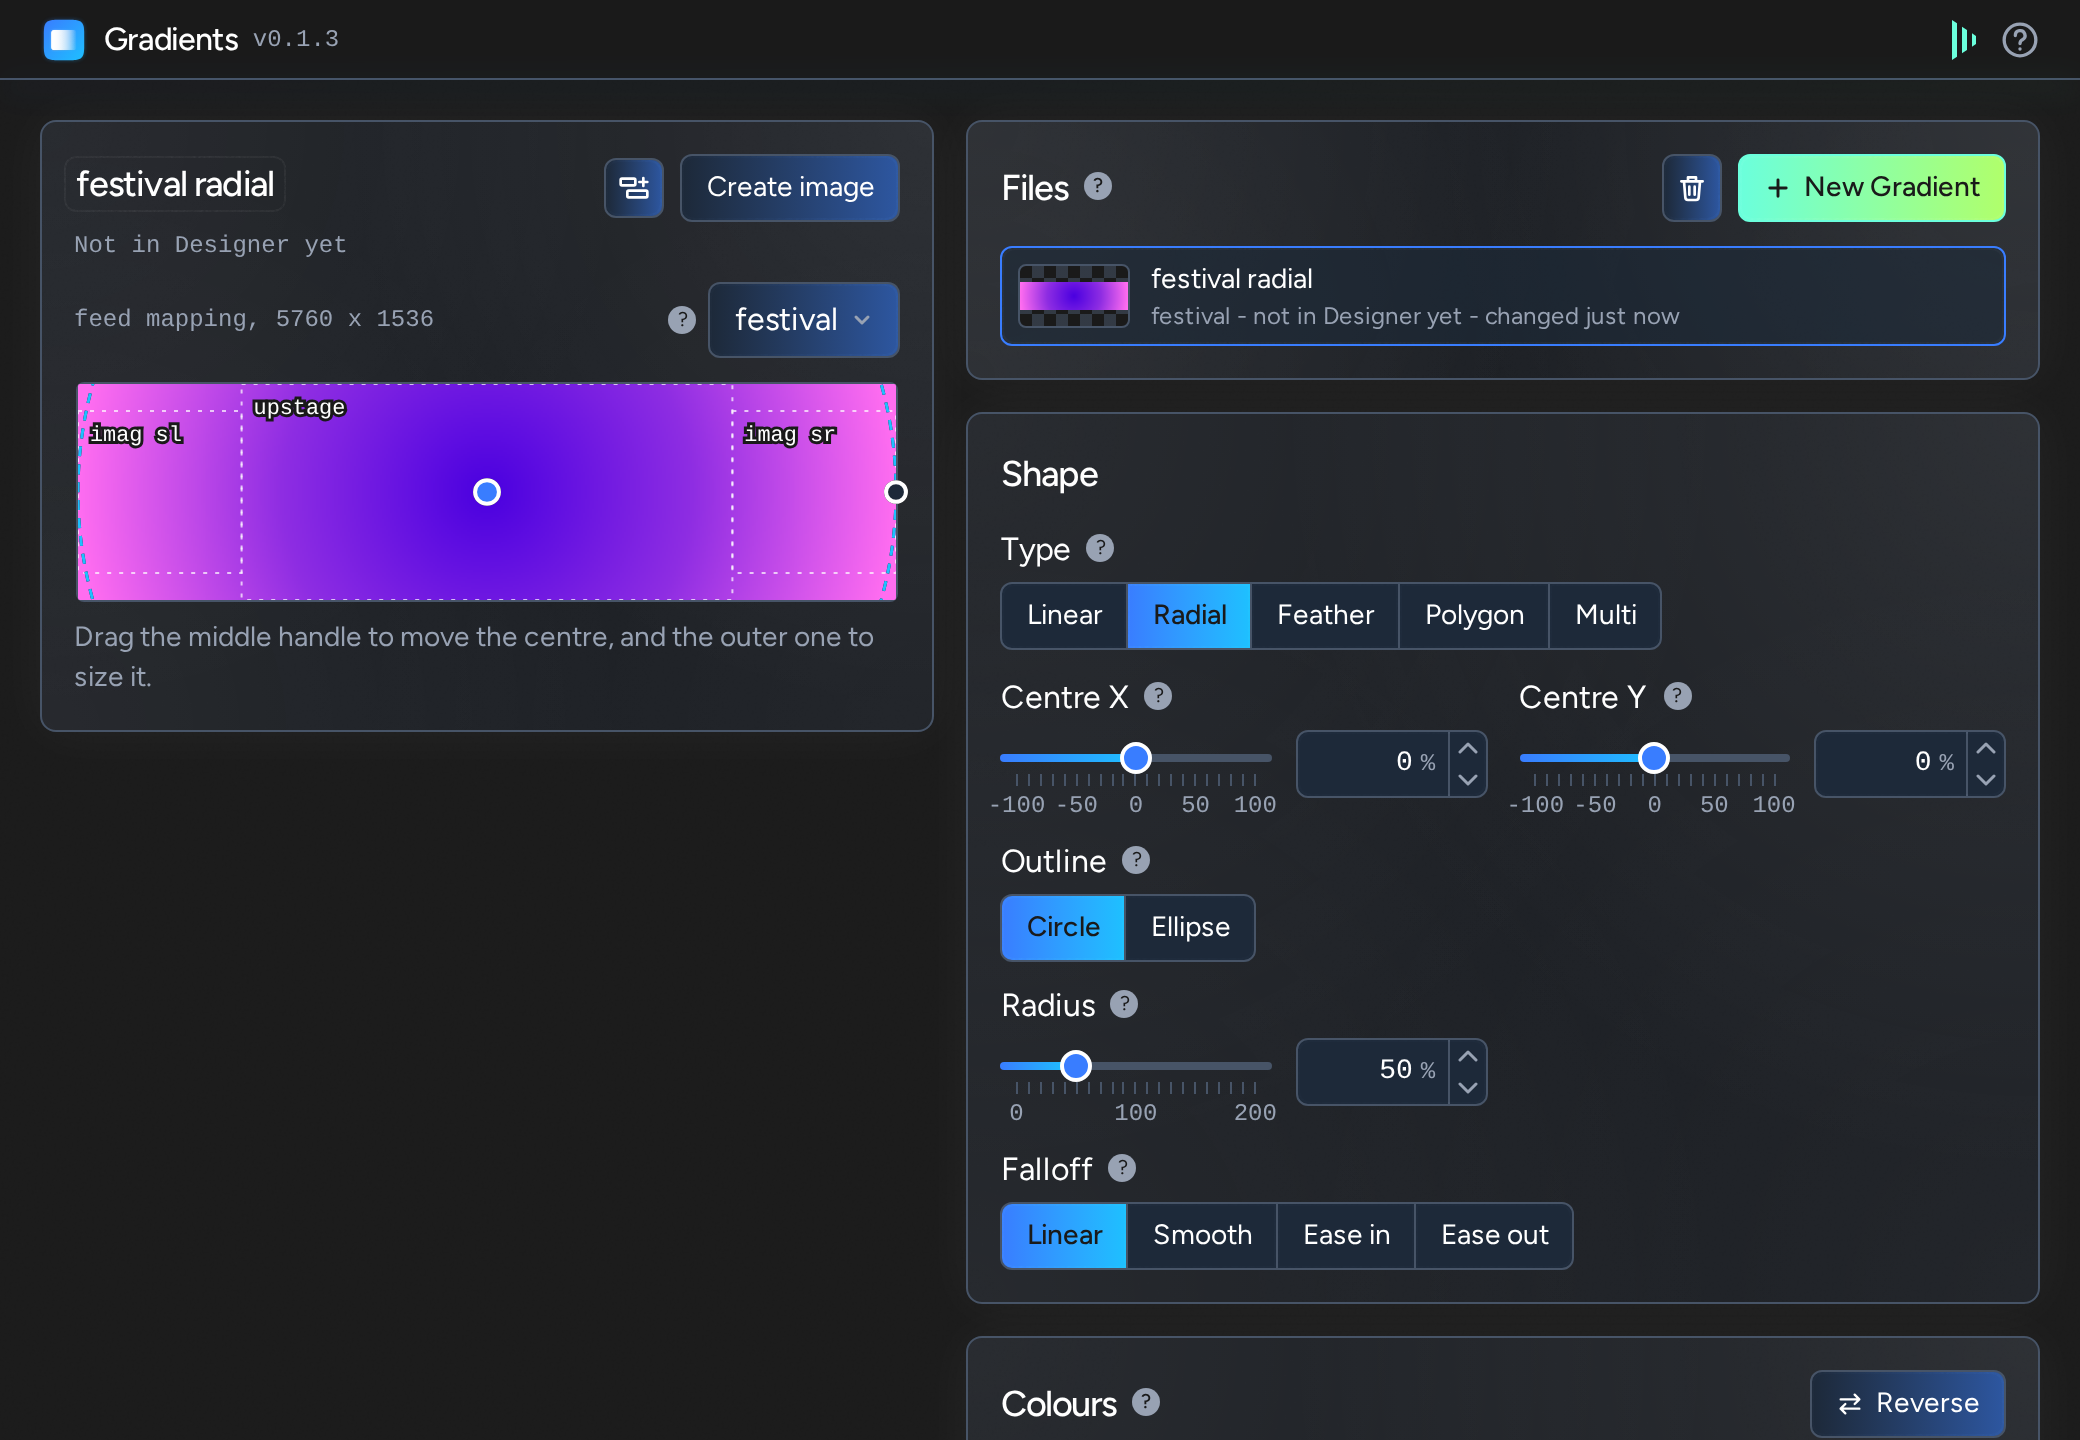
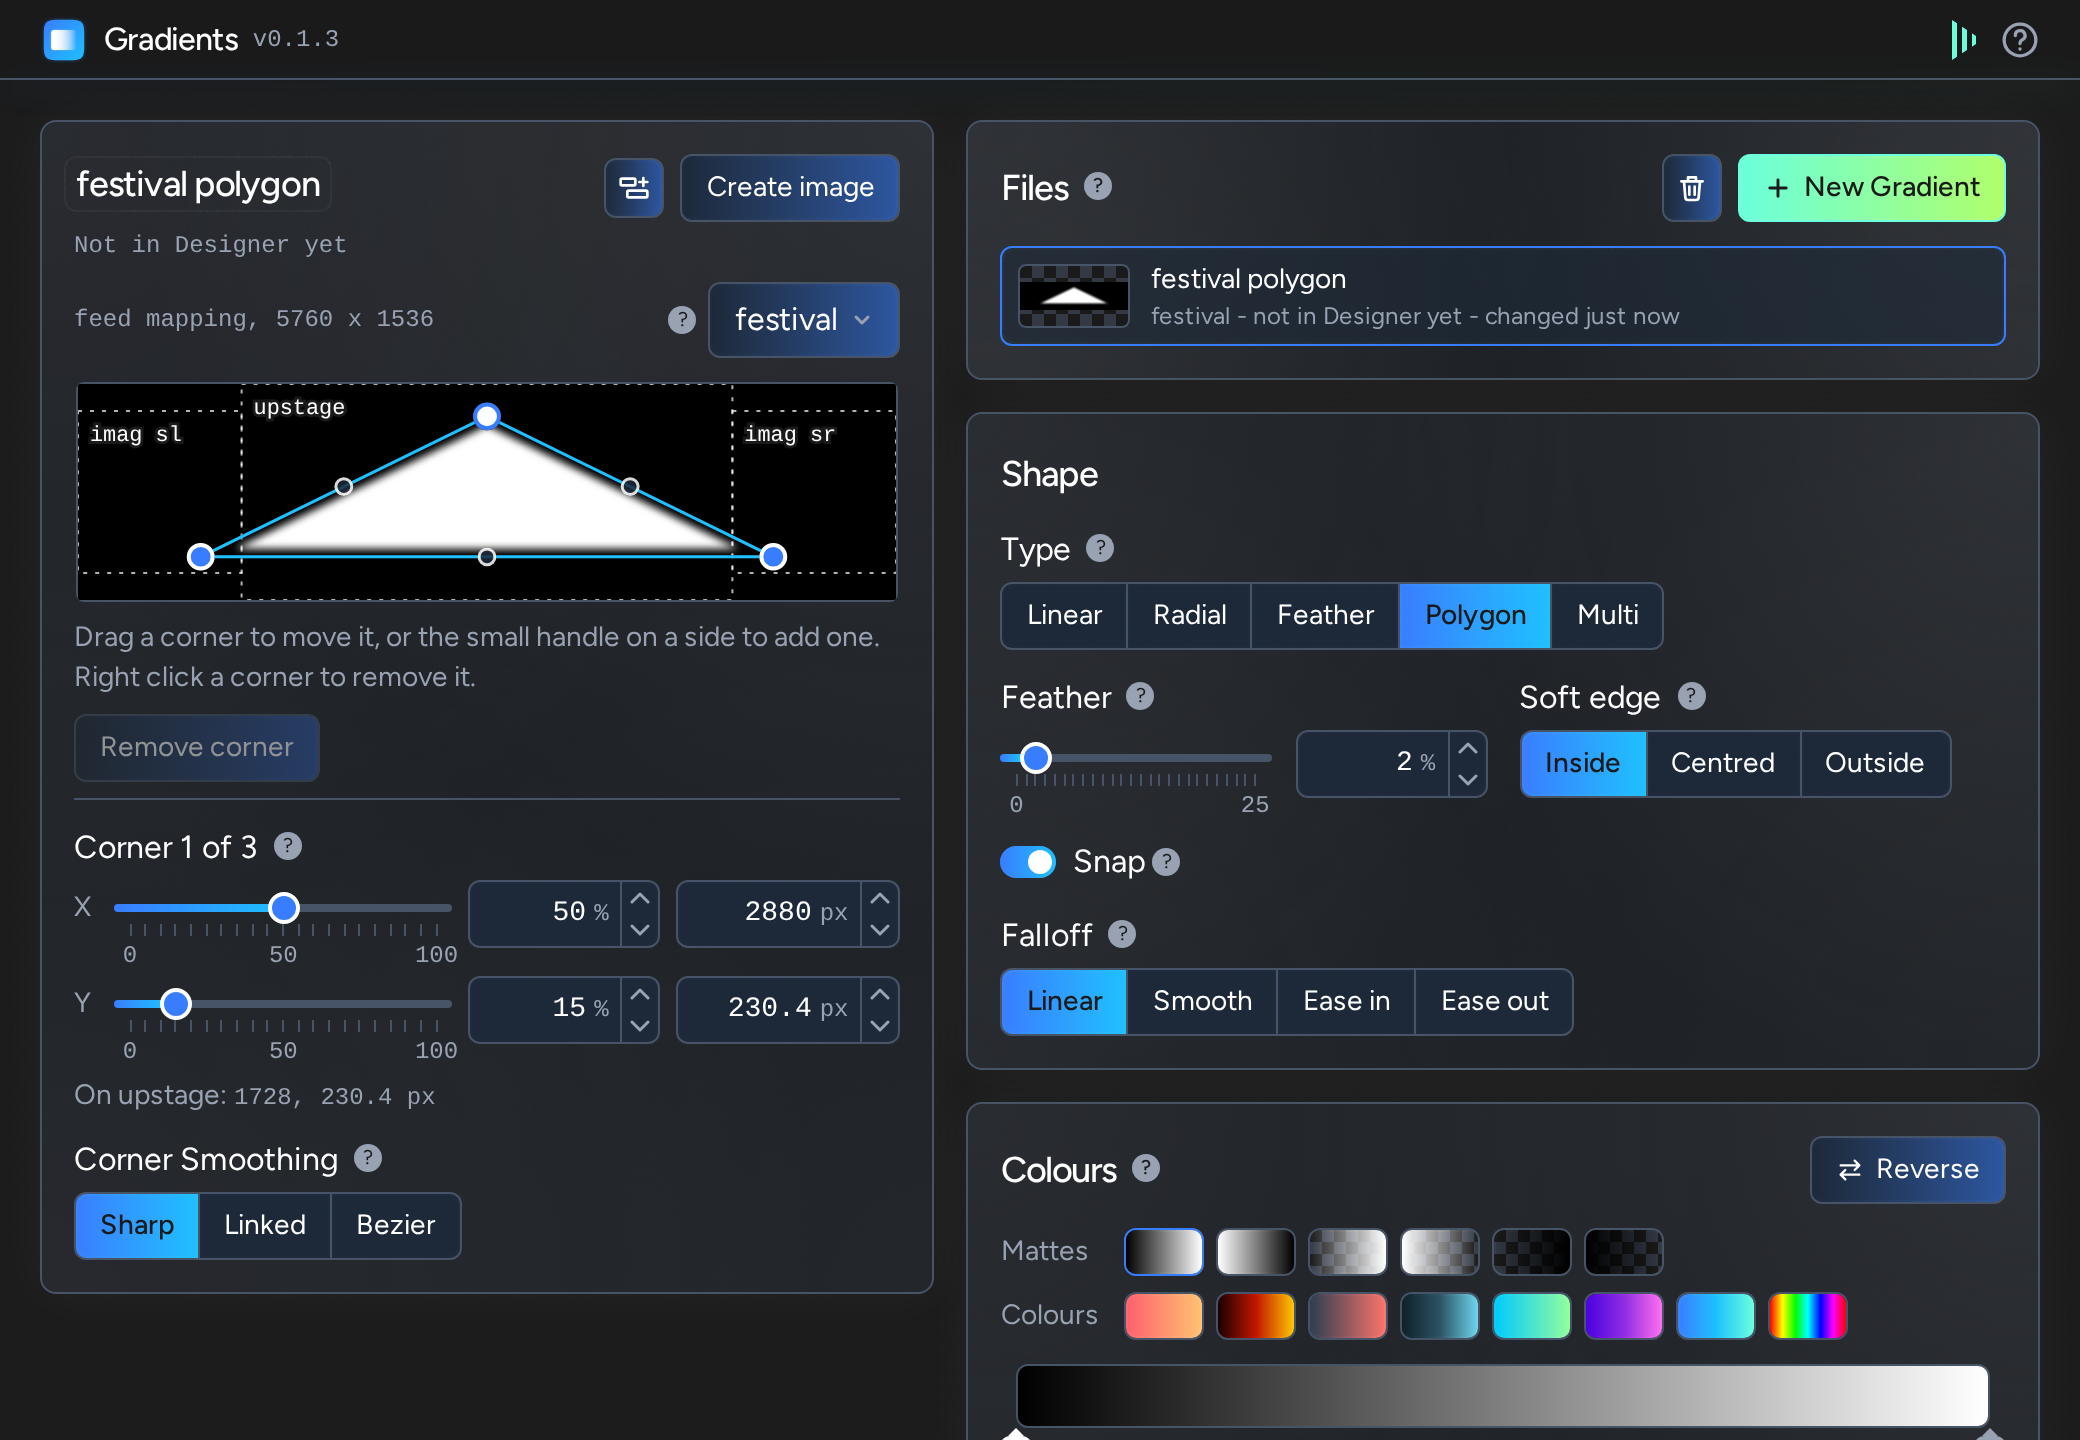
Makes pixel perfect gradients for a mapping: drawn to fit its canvas, written into the project as an image, and played by a video layer.
From then on the layer follows what you do here: each change is written as a new version of the image a moment after you stop, and Designer moves the layer on to it. The line that runs across the bottom of Update image shows how soon.
A gradient is named for its mapping and its type ("cam all feather") until you type a name of your own: click the name at the top of the preview and type over it.
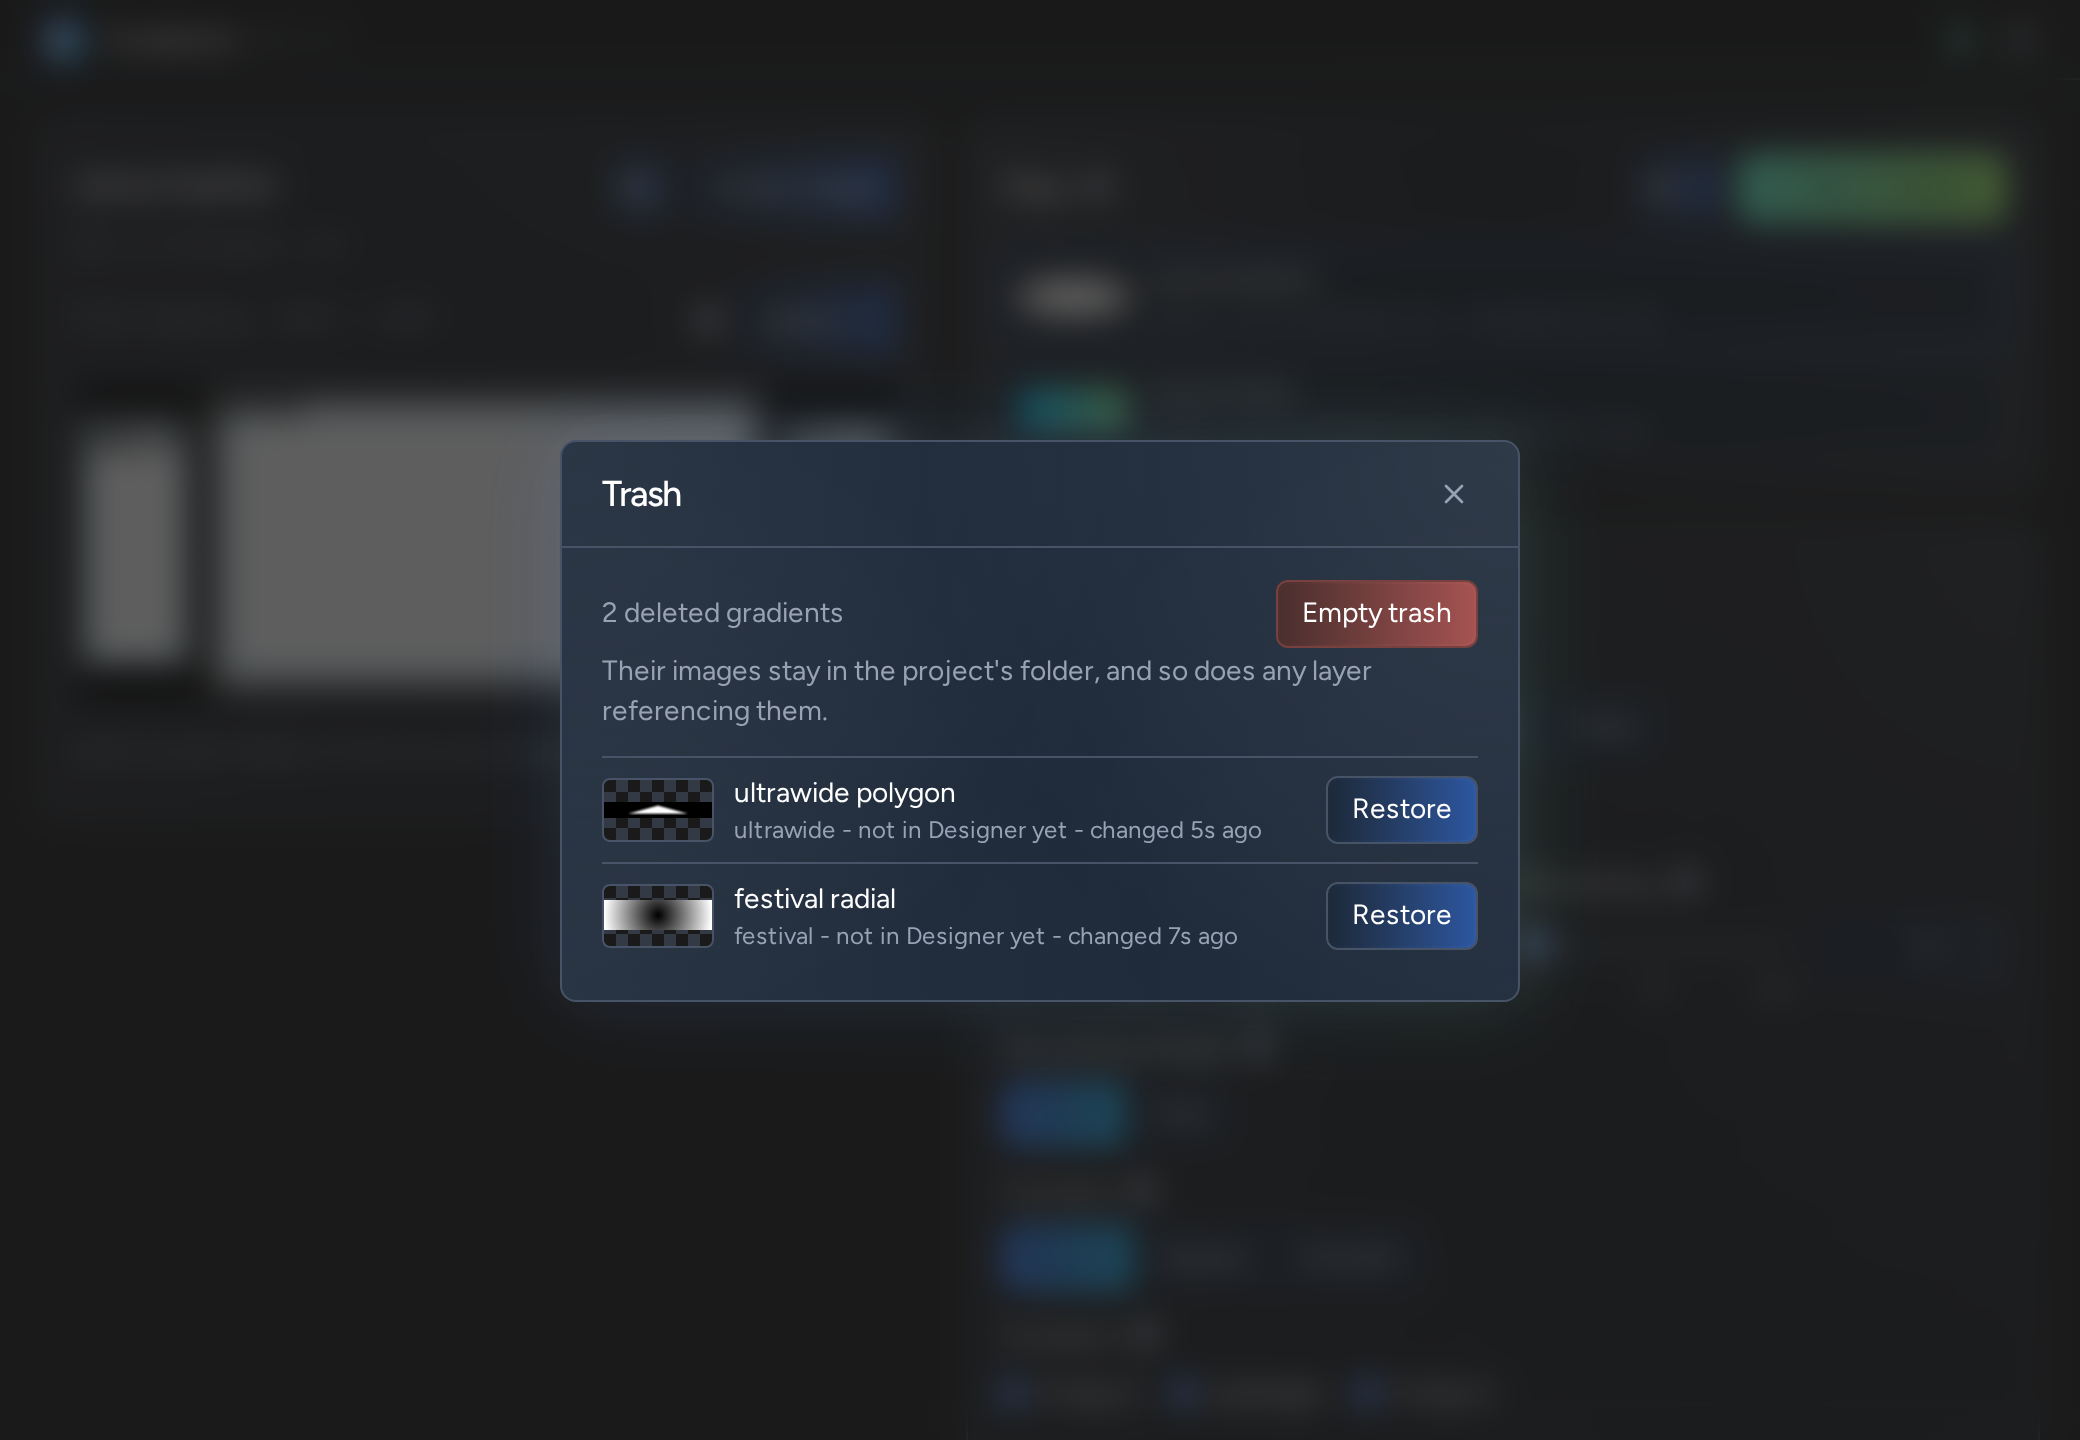
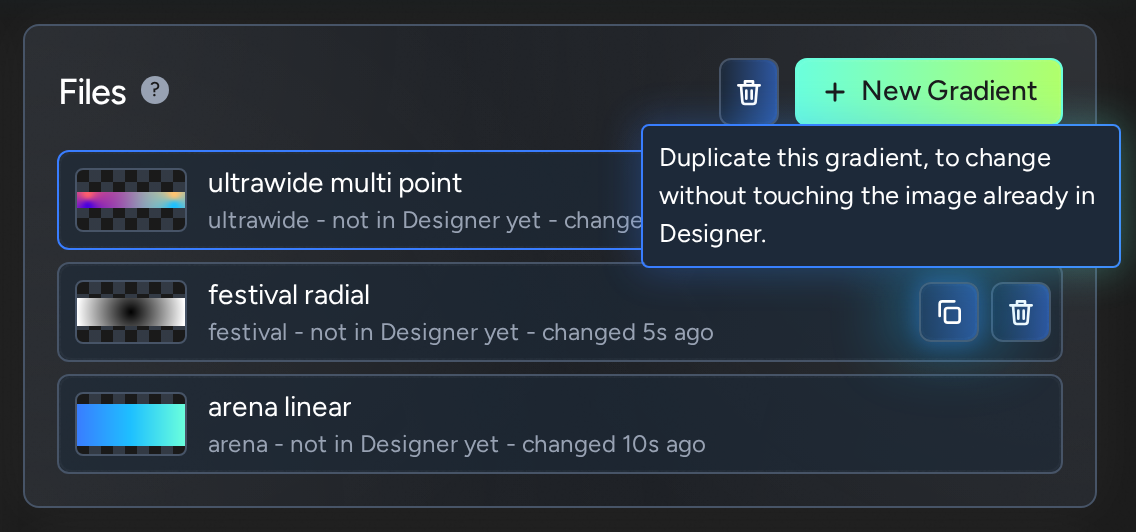
Files lists the project's gradients, each with a picture of it, the one changed most lately first: the latest three, and the rest behind Show more. Click one to work on it. With the pointer on a row, the two buttons at its end duplicate it or delete it. A deleted gradient goes to the trash, which is saved in the project with the list: the button with the bin on it, beside New Gradient, opens it, to put a gradient back with Restore or to delete everything in it for good with Empty trash, which asks first. Either way the images stay in the project. New Gradient starts another.
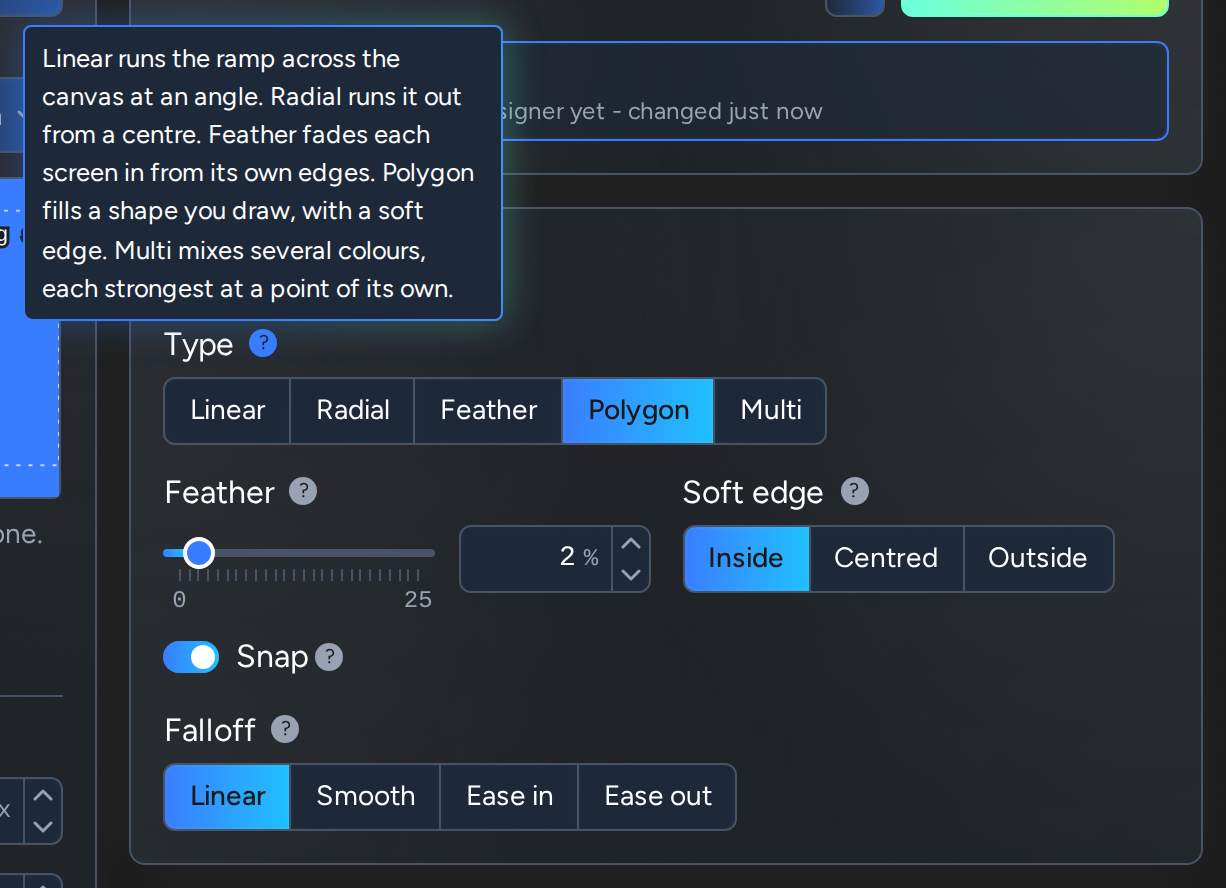
Linear, radial, polygon and multi gradients cover the whole canvas, so they run across every screen on it.
Feather is the width of its soft edge, which Soft edge puts inside the outline, across it or outside it.
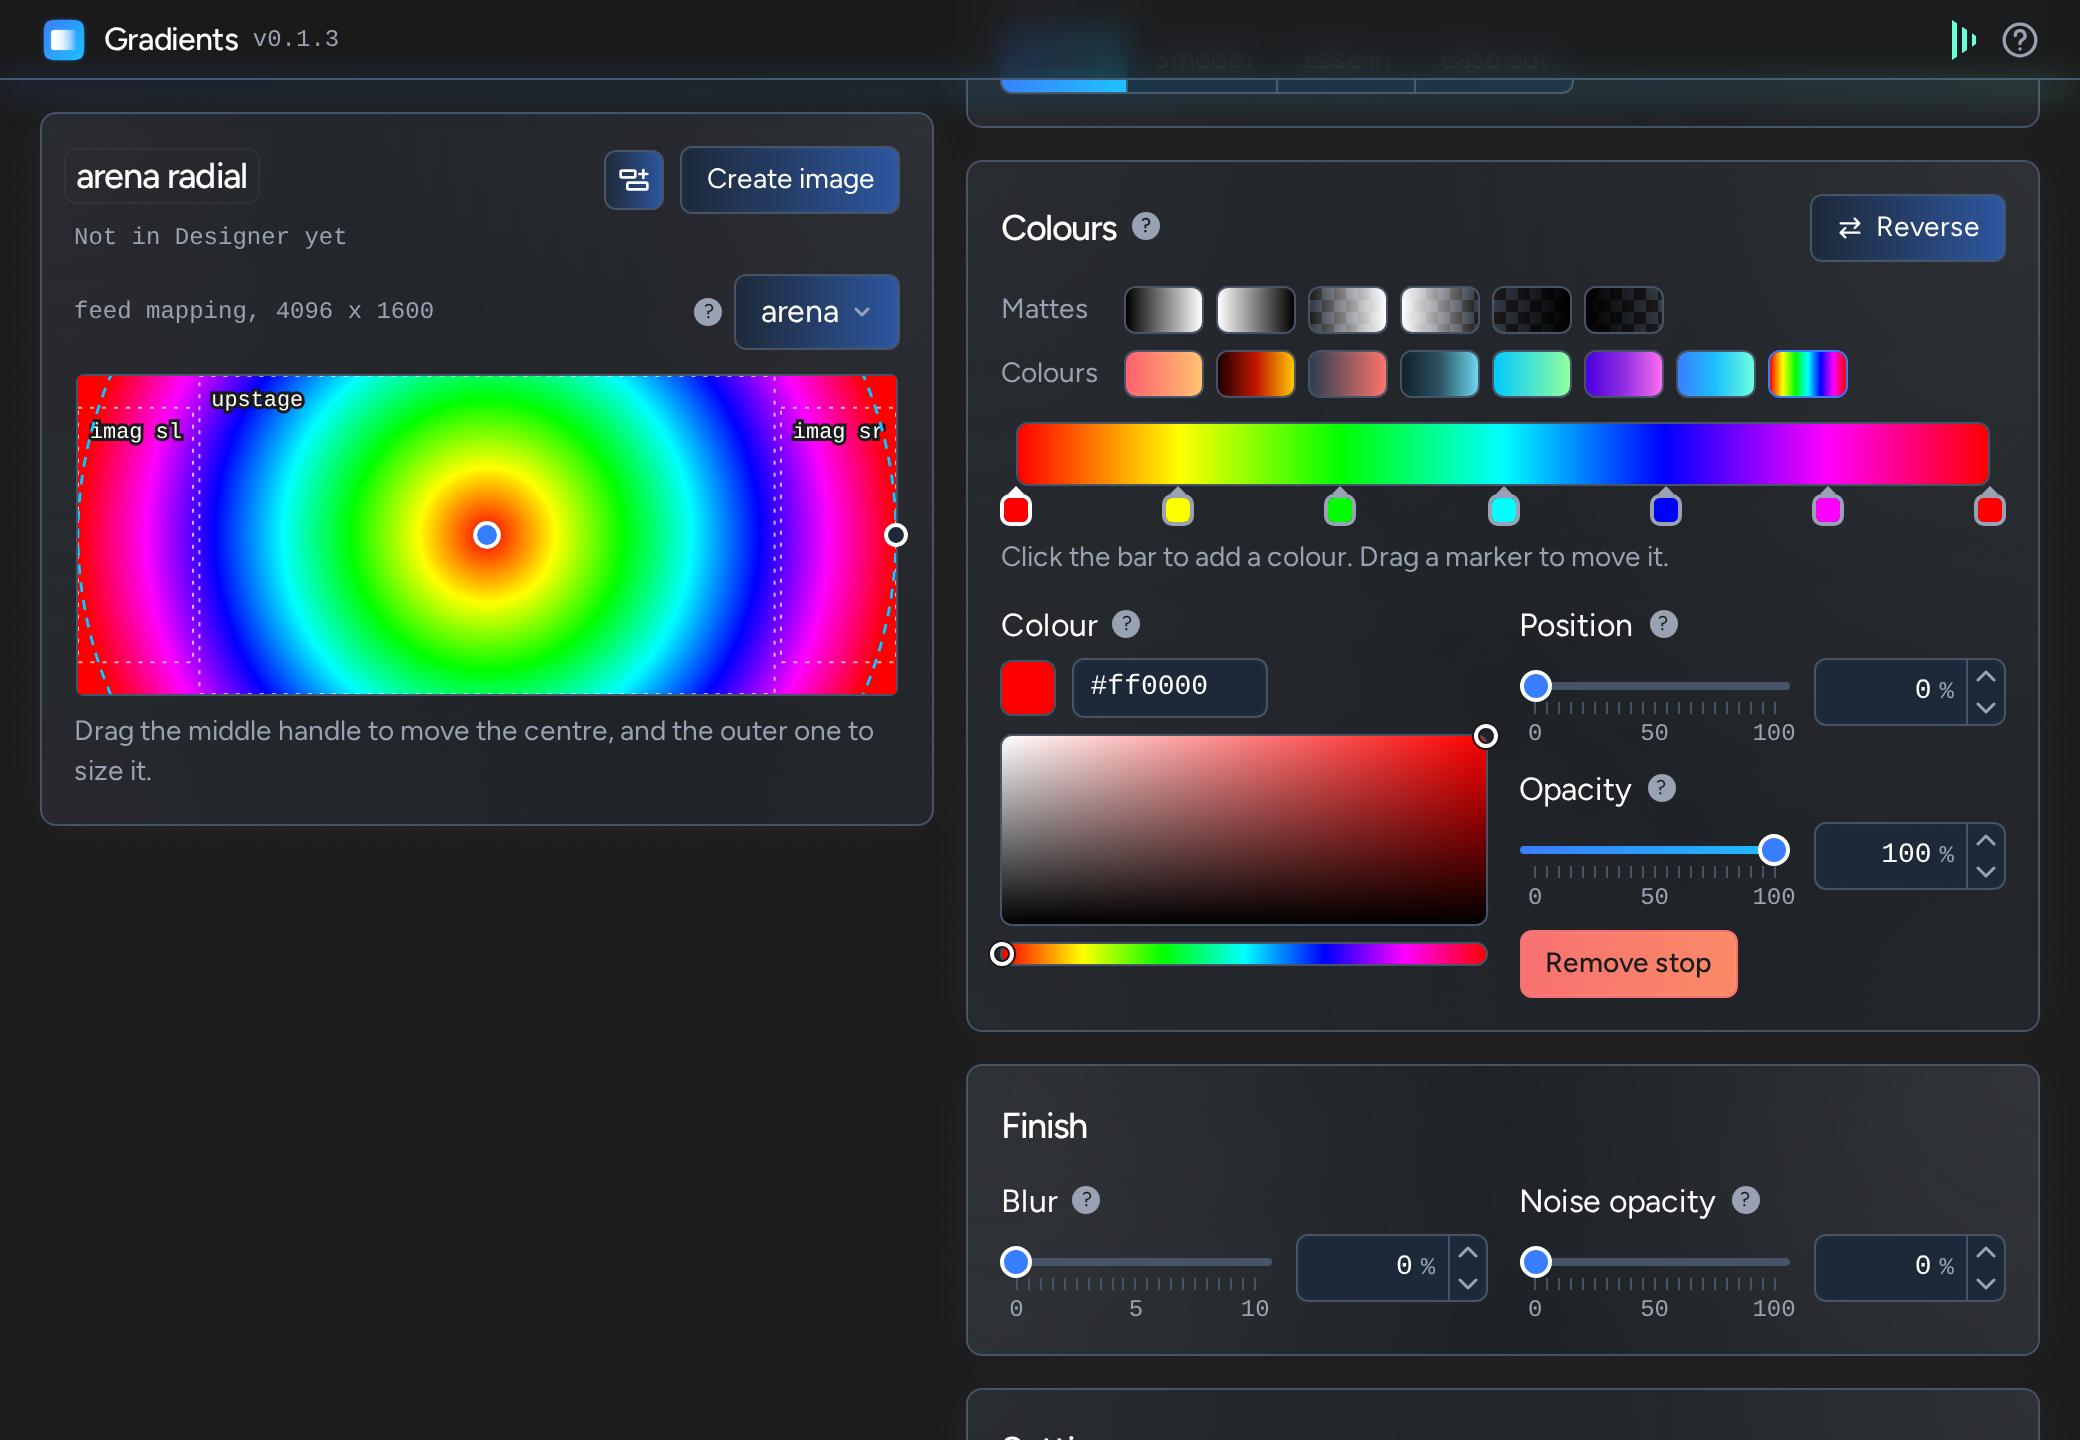
Mattes are black to white, and white or black to transparent, each both ways round: for masks and fades. Colours are ready-made ramps. Reverse runs any ramp the other way.
To make your own, click the bar to add a colour and drag its marker to place it. Click a marker to change its colour, its position and its opacity, or to remove it. Two markers in the same place make a hard edge.
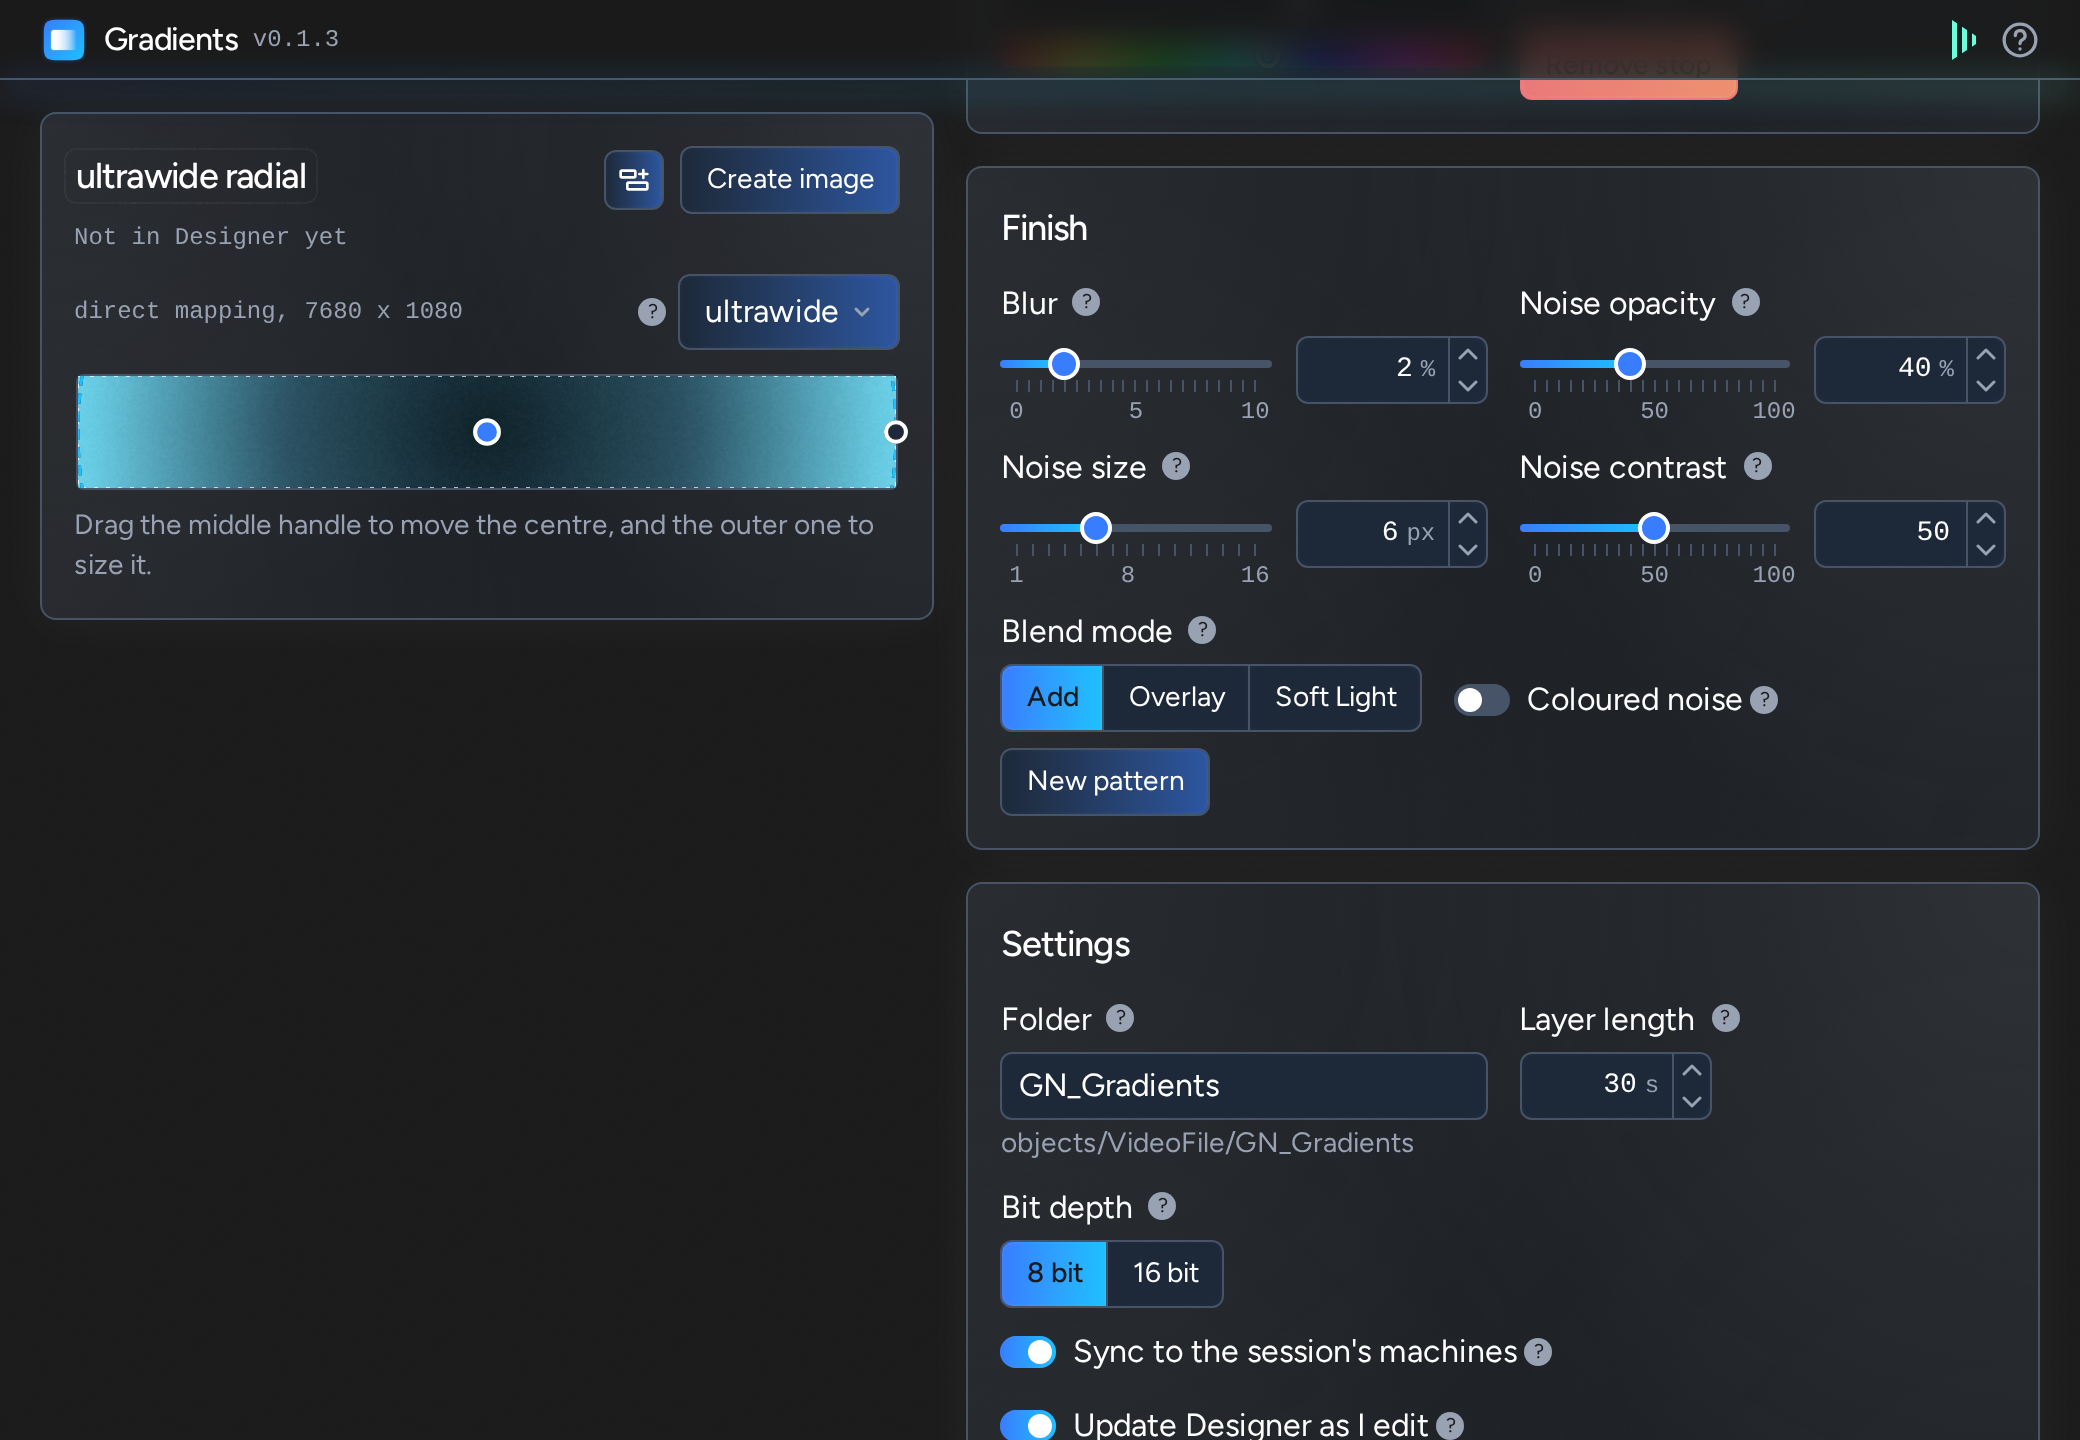
Blur softens the whole image. Noise opacity adds grain over the top: a little (5 to 15) hides the bands a smooth gradient can show on a screen, and more is a look of its own. Noise size is how large its specks are, in the image's pixels, 1 being the finest there can be, and Noise contrast how hard they are. The preview shows grain to scale, so grain too fine for it to draw is shown fainter. An image with noise is a much larger file, and takes longer to reach Designer. Blend mode is how the grain goes on: Add moves every value by it, and Overlay and Soft Light lay it over as an image editor would, leaving black and white alone.
Into the project's objects/VideoFile/GN_Gradients folder, as name_v001.png, name_v002.png and so on. Designer treats these as versions of one clip, called name.png, and layers playing it move on to the newest. Folder changes where they go.
Everything about a gradient is kept as a percentage, so it can be made again at another size. If a mapping's canvas or its screens change in Designer, its gradients are marked Canvas changed on the list, and Update writes them again to fit.
The list is saved in the project, so it is there for whoever opens the project next. Each image also has its settings inside it: one that is in the folder but not on the list is offered under the list, to add back.
Hover the ? beside any setting for what it does.
Initial version.
GN_Gradients folder into a Plugins folder: your project's, to use it in that project, or d3 Projects/common/Plugins, to use it in every project on that machine.Every plugin has a generous licence that doesn't limit its use in production. There are no licence keys or online activations, and the files are an instant download.
We hope you work in good faith: if you use a plugin commercially, pay to support its development, and don't pass it on.
Read the licence

